Rosalina & Luma (SSB4)/Neutral special/Default: Difference between revisions
From SmashWiki, the Super Smash Bros. wiki
Jump to navigationJump to search
Serpent King (talk | contribs) No edit summary |
Serpent King (talk | contribs) No edit summary |
||
| Line 1: | Line 1: | ||
{{ArticleIcons|ssb4=y}} | {{ArticleIcons|ssb4=y}} | ||
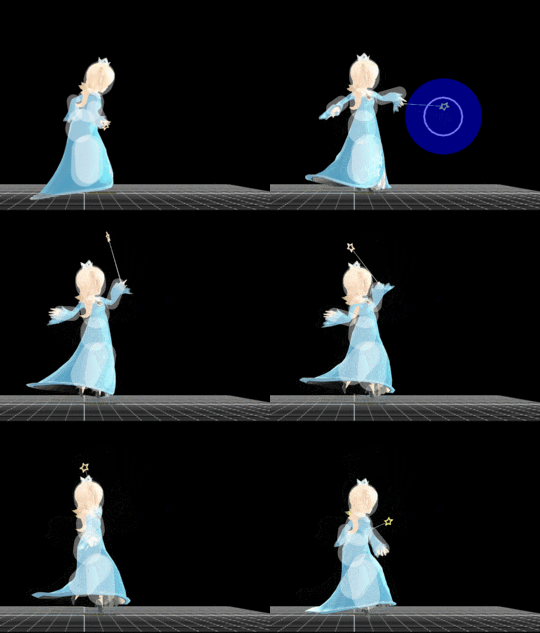
[[File:RosalinaLumaShot.gif|thumb|270px|Hitbox visualization showing Rosalina's Luma Shot.]] | [[File:RosalinaLumaShot.gif|thumb|270px|Hitbox visualization showing Rosalina's Luma Shot, calling Luma back.]] | ||
{{competitive expertise}} | {{competitive expertise}} | ||
{{technical data}} | {{technical data}} | ||
Revision as of 21:11, December 5, 2017
Hitboxes
With Luma
| ID | Part | Damage | SD | Angle | BK | KS | FKV | Radius | Bone | Offset | SDIx | H× | T% | Clang | Rebound | Type | Effect | G | A | Sound | Direct | ||
|---|---|---|---|---|---|---|---|---|---|---|---|---|---|---|---|---|---|---|---|---|---|---|---|
| 0 | 0 | 1% | 0 | 50 | 104 | 0 | 2.0 | 0 | 0.0 | 0.0 | 0.0 | 1.0x | 1.0x | 0% | |||||||||
Without Luma
| ID | Part | Damage | SD | Angle | BK | KS | FKV | Radius | Bone | Offset | SDIx | H× | T% | Clang | Rebound | Type | Effect | G | A | Sound | Direct | ||
|---|---|---|---|---|---|---|---|---|---|---|---|---|---|---|---|---|---|---|---|---|---|---|---|
| 0 | 0 | 0% | 0 | 0 | 100 | 30 | 6.0 | 0 | 0.0 | 12.0 | 14.0 | 0.0x | 0.0x | 0% | |||||||||
|


