Rosalina & Luma (SSB4)/Neutral attack/Hit 3: Difference between revisions
From SmashWiki, the Super Smash Bros. wiki
Jump to navigationJump to search
BrawlMatt202 (talk | contribs) No edit summary |
Serpent King (talk | contribs) No edit summary |
||
| Line 1: | Line 1: | ||
{{ArticleIcons|ssb4=y}} | {{ArticleIcons|ssb4=y}} | ||
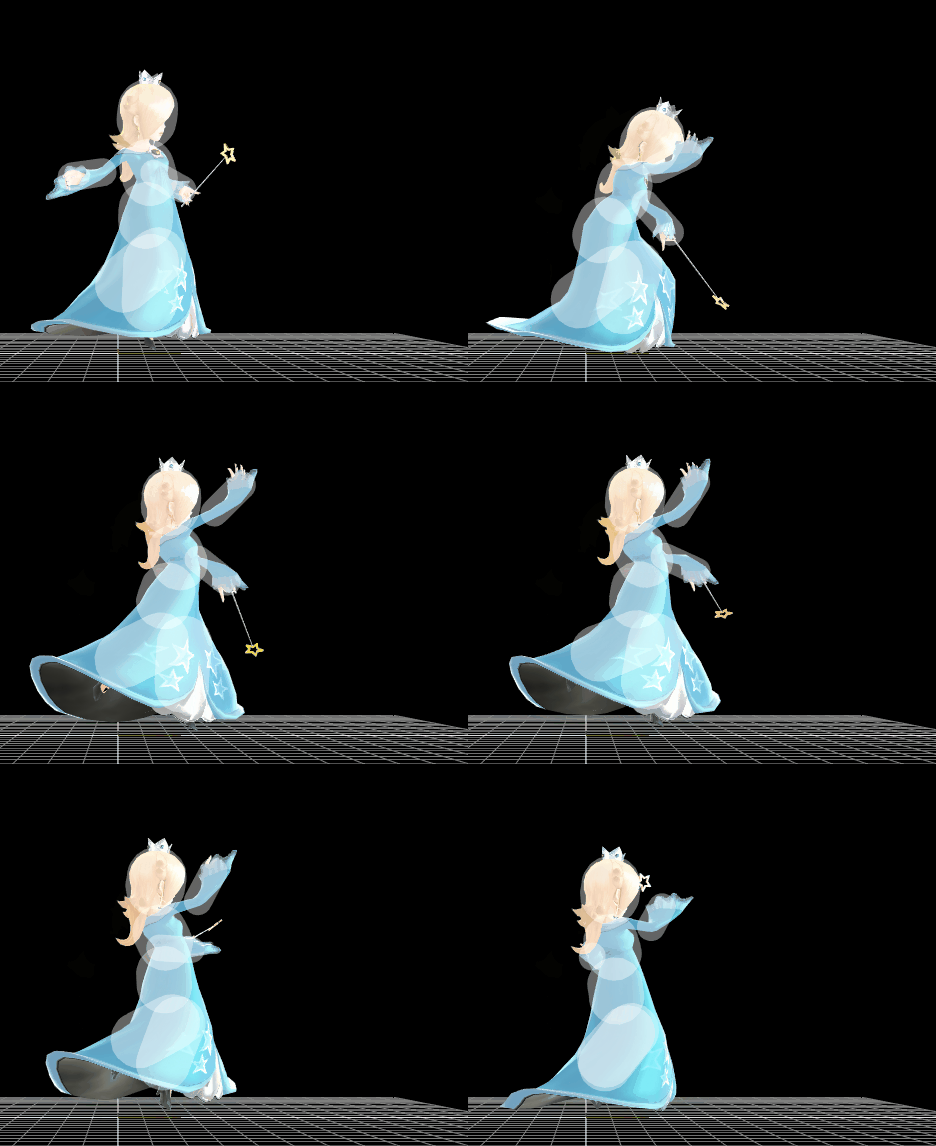
[[File:RosalinaJab3.gif|thumb|270px|Hitbox visualization showing Rosalina's third jab.]] | |||
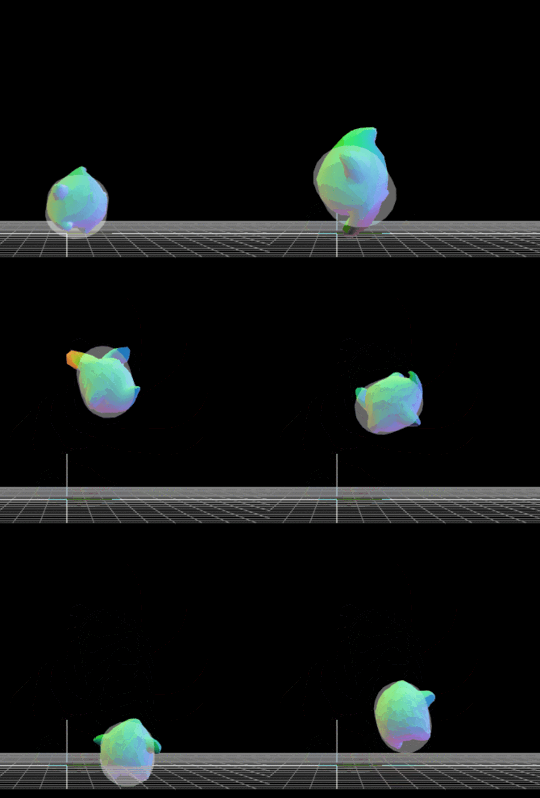
[[File:LumaJab3.gif|thumb|270px|Hitbox visualization showing Luma's third jab.]] | |||
{{competitive expertise}} | {{competitive expertise}} | ||
{{technical data}} | {{technical data}} | ||
Revision as of 19:44, December 5, 2017
Hitboxes
Rosalina
| ID | Part | Damage | SD | Angle | BK | KS | FKV | Radius | Bone | Offset | SDIx | H× | T% | Clang | Rebound | Type | Effect | G | A | Sound | Direct | ||
|---|---|---|---|---|---|---|---|---|---|---|---|---|---|---|---|---|---|---|---|---|---|---|---|
| 0 | 0 | 3% | 0 | 48 | 80 | 0 | 5.0 | 0 | 0.0 | 12.0 | 10.0 | 1.0x | 1.5x | 0% | |||||||||
Luma
| ID | Part | Damage | SD | Angle | BK | KS | FKV | Radius | Bone | Offset | SDIx | H× | T% | Clang | Rebound | Type | Effect | G | A | Sound | Direct | ||
|---|---|---|---|---|---|---|---|---|---|---|---|---|---|---|---|---|---|---|---|---|---|---|---|
| 0 | 0 | 4% | 0 | 60 | 150 | 0 | 5.0 | 2005 | 6.0 | 0.0 | 0.0 | 1.0x | 1.5x | 0% | |||||||||
|


