Marth (SSBB)/Forward aerial: Difference between revisions
m (→Overview) |
(Expanded) |
||
| Line 3: | Line 3: | ||
==Overview== | ==Overview== | ||
[[File:Marth Forward Aerial Hitbox Brawl.gif|thumb|right|250px|Forward aerial hitbox.]] | [[File:Marth Forward Aerial Hitbox Brawl.gif|thumb|right|250px|Forward aerial hitbox.]] | ||
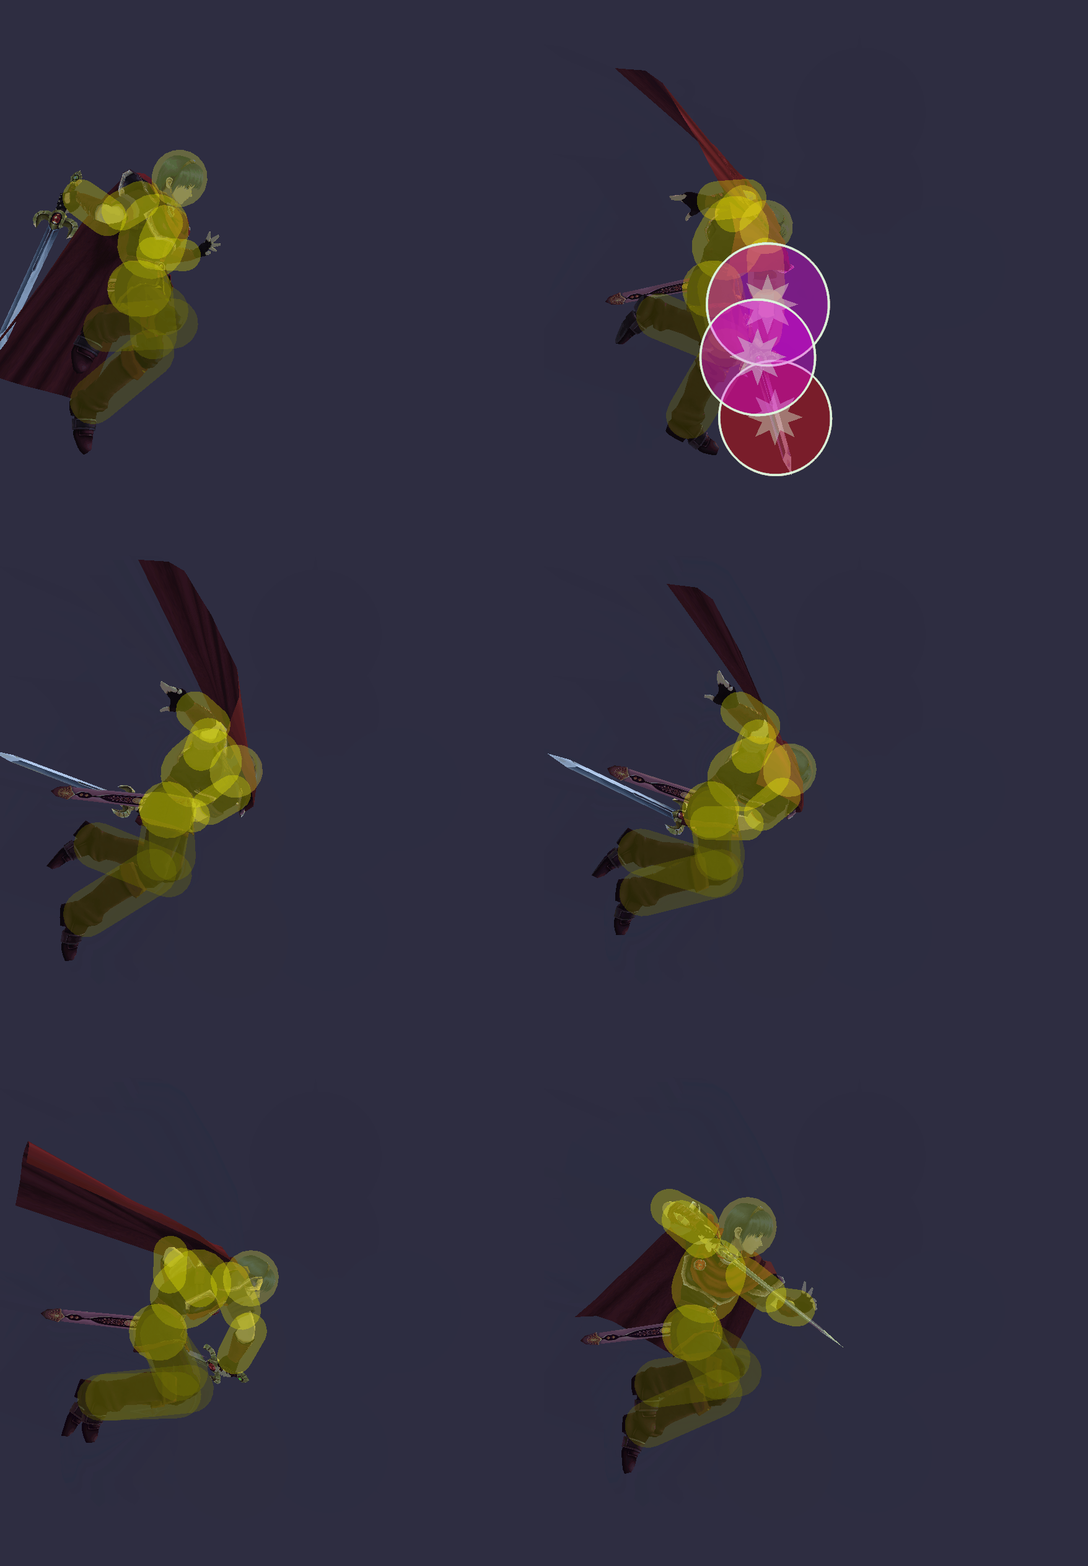
Marth does a forward vertical slash with his sword, doing 10% damage on the base of the sword and 13% with the tip. Although it doesn't have much knockback if hit on its base, it has KOing potential at around 150% when hit on the tip. An extremely useful move for [[spacing]], [[edgeguarding]], and aerial [[approach]]es, due to its very quick speed and a long-[[range]]ed [[disjointed]] [[hitbox]] that gives it a long, safe [[range]]. Considered Marth's best aerial and | Marth does a forward vertical slash from top to bottom with his sword, doing 10% damage on the base of the sword and 13% with the tip. Although it doesn't have much knockback if hit on its base, it has KOing potential at around 150% when hit on the tip, and can KO earlier when used near the edges of the stage. An extremely useful move for [[spacing]], [[edgeguarding]], and aerial [[approach]]es, due to its very quick speed and a long-[[range]]ed [[disjointed]] [[hitbox]] that gives it a long, safe [[range]], and when used properly with [[read]]s on a recovering opponent, can create a wall that is difficult to get through without being damaged. At low percents, due to its low ending lag and good damage, it is an excellent [[combo]] move and is commonly used multiple times in a row to rack up damage, or combined with other aerial attacks. Considered Marth's best aerial and arguably the best [[forward aerial]] in the game. | ||
==Hitboxes== | ==Hitboxes== | ||
Revision as of 16:19, October 22, 2013
Overview
Marth does a forward vertical slash from top to bottom with his sword, doing 10% damage on the base of the sword and 13% with the tip. Although it doesn't have much knockback if hit on its base, it has KOing potential at around 150% when hit on the tip, and can KO earlier when used near the edges of the stage. An extremely useful move for spacing, edgeguarding, and aerial approaches, due to its very quick speed and a long-rangeed disjointed hitbox that gives it a long, safe range, and when used properly with reads on a recovering opponent, can create a wall that is difficult to get through without being damaged. At low percents, due to its low ending lag and good damage, it is an excellent combo move and is commonly used multiple times in a row to rack up damage, or combined with other aerial attacks. Considered Marth's best aerial and arguably the best forward aerial in the game.
Hitboxes
Timing
Attack
| Hitboxes | 4-7 |
|---|---|
| Ending autocancel | 27- |
| Interruptible | 34 |
| Animation length | 39 |
