No edit summary |
|||
| (One intermediate revision by one other user not shown) | |||
| Line 1: | Line 1: | ||
{{ArticleIcons|ssbb=y}} | {{ArticleIcons|ssbb=y}} | ||
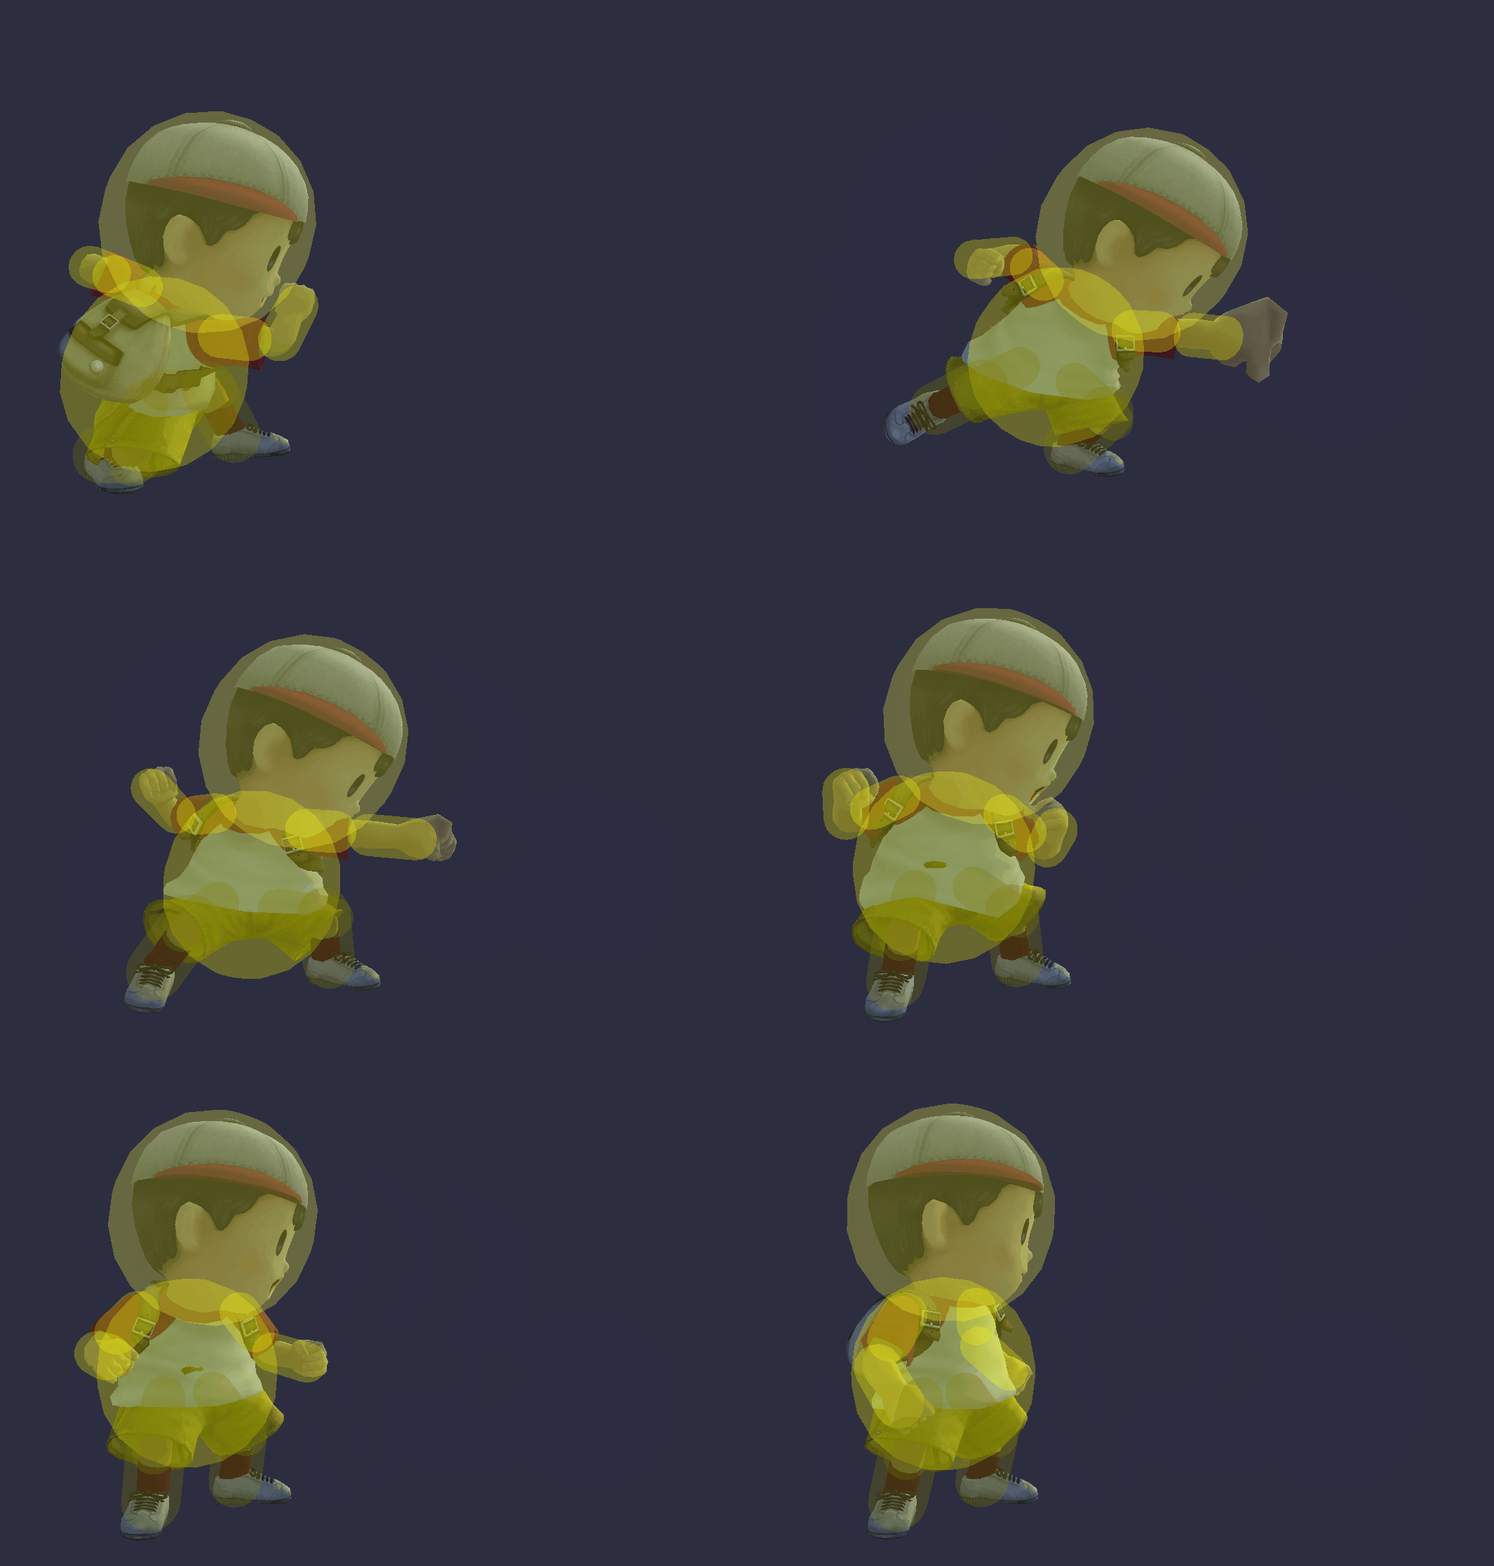
[[File:NessJab1SSBB.gif|thumb|400px|Hitbox visualization showing Ness's first jab.]] | |||
==Overview== | ==Overview== | ||
{{competitive expertise}} | {{competitive expertise}} | ||
| Line 6: | Line 6: | ||
{{BrawlHitboxTableHeader}} | {{BrawlHitboxTableHeader}} | ||
{{BrawlHitboxTableRow | {{BrawlHitboxTableRow | ||
|bn=27 | |bn=27 | ||
|id=0 | |id=0 | ||
| Line 25: | Line 24: | ||
}} | }} | ||
{{BrawlHitboxTableRow | {{BrawlHitboxTableRow | ||
|bn=27 | |bn=27 | ||
|id=1 | |id=1 | ||
| Line 44: | Line 42: | ||
}} | }} | ||
{{BrawlHitboxTableRow | {{BrawlHitboxTableRow | ||
|bn=26 | |bn=26 | ||
|id=2 | |id=2 | ||
Latest revision as of 23:37, May 21, 2024
OverviewEdit
HitboxesEdit
TimingEdit
| Hitboxes | 3-4 |
|---|---|
| Earliest continuable | 6 |
| Animation length | 19 |
| Lag time |
Hitbox |
Earliest continuable point |
