No edit summary |
m (Text replacement - "== ([^=])" to "== $1") |
||
| (3 intermediate revisions by 3 users not shown) | |||
| Line 2: | Line 2: | ||
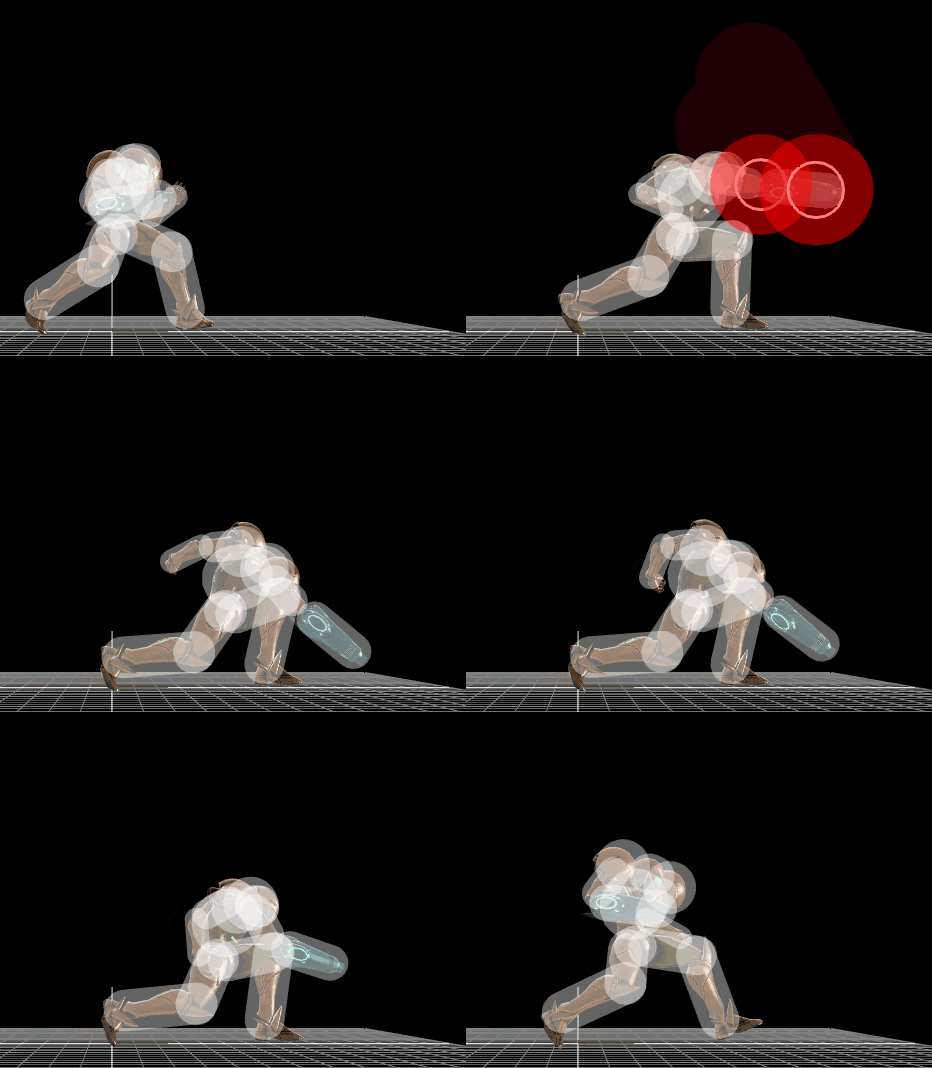
[[File:SamusJab2.gif|thumb|270px|Hitbox visualization of Samus's second jab.]] | [[File:SamusJab2.gif|thumb|270px|Hitbox visualization of Samus's second jab.]] | ||
{{competitive expertise}} | {{competitive expertise}} | ||
==Hitboxes== | ==Hitboxes== | ||
{{SSB4HitboxTableHeader}} | {{SSB4HitboxTableHeader}} | ||
{{SSB4HitboxTableRow | {{SSB4HitboxTableRow | ||
| Line 64: | Line 62: | ||
{{FrameIconLegend|lag=y|hitbox=y|interruptible=y}} | {{FrameIconLegend|lag=y|hitbox=y|interruptible=y}} | ||
{{MvSubNavSamus|g=SSB4}} | {{MvSubNavSamus|g=SSB4}} | ||
[[Category:Samus (SSB4)]] | [[Category:Samus (SSB4)]] | ||
[[Category:Neutral attacks (SSB4)]] | |||
Latest revision as of 00:43, April 13, 2022
HitboxesEdit
TimingEdit
| Hitboxes | 6-9 |
|---|---|
| Interruptible | 30 |
| Animation length | 30 |
| Lag time |
Hitbox |
Interruptible |
|

