SSB4 Icon.png

Lucario (SSB4)/Down smash: Difference between revisions

From SmashWiki, the Super Smash Bros. wiki
Jump to navigationJump to search
No edit summary
No edit summary
Line 10: Line 10:
|id=0
|id=0
|part=0
|part=0
|damage={{AuraDamageSSB4|9|c}}
|damage={{AuraDamageSSB4|14|c}}
|angle=33
|angle=33
|bk=30
|bk=30
Line 33: Line 33:
|id=1
|id=1
|part=0
|part=0
|damage={{AuraDamageSSB4|9|c}}
|damage={{AuraDamageSSB4|14|c}}
|angle=33
|angle=33
|bk=30
|bk=30

Revision as of 10:38, February 7, 2018

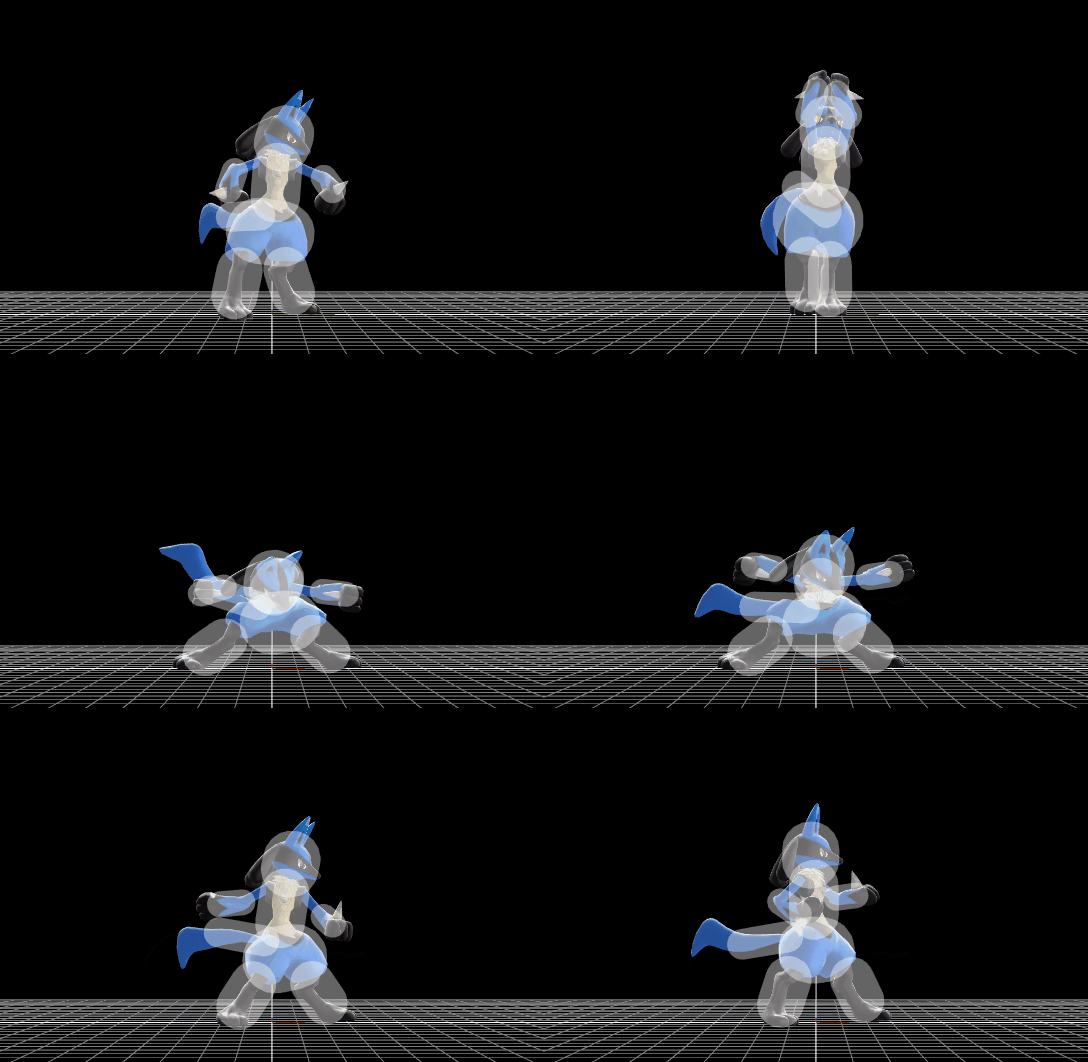
Hitbox visualization showing Lucario's down smash.
Competitive.png This article or section may require competitive expertise.
You can discuss this issue on the talk page or edit this page to improve it.
Data.png This article or section may require additional technical data.
You can discuss this issue on the talk page or edit this page to improve it.

Hitboxes

ID Part Damage SD Angle BK KS FKV Radius Bone Offset SDIx T% Clang Rebound Type Effect G A Sound Direct
0 0 14% 0 AngleIcon33.png 30 99 0 4.3 0 0.0 6.0 13.0 1.0x 1.0x 0% HitboxTableIcon(NoClang).png HitboxTableIcon(NoRebound).png TypeIcon(Hand).png EffectIcon(Aura).png HitboxTableIcon(GroundedTrue).png HitboxTableIcon(AerialTrue).png L Aura SpecialsIndirect.png
1 0 14% 0 AngleIcon33.png 30 99 0 4.3 0 0.0 6.0 -15.0 1.0x 1.0x 0% HitboxTableIcon(Clang).png HitboxTableIcon(Rebound).png TypeIcon(Hand).png EffectIcon(Aura).png HitboxTableIcon(GroundedTrue).png HitboxTableIcon(AerialTrue).png L Aura SpecialsDirect.png