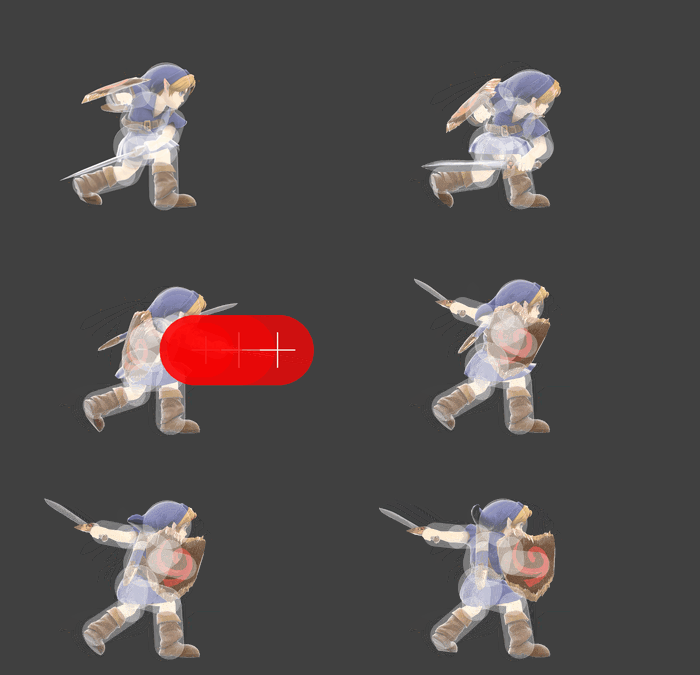
OverviewEdit
HitboxesEdit
TimingEdit
The third jab and rapid jab have different continuability windows, with the latter being shorter and taking priority. The move transitions into the rapid jab if, since the start of the first jab and before the end of the rapid jab window, the attack button has been pressed at least 3 times and released at least 2 times. Otherwise, it transitions into the third jab.
| Hitboxes | 6-7 | |
|---|---|---|
| Continuability | Rapid jab | 8-11 |
| Jab 3 (held on hit or tapped) | 9-30 | |
| Jab 3 (held without hitting) | 13 | |
| Interruptible | 17 | |
| Animation length | 35 | |
| Hitboxes | |||||||||||||||||||||||||||||||||||
|---|---|---|---|---|---|---|---|---|---|---|---|---|---|---|---|---|---|---|---|---|---|---|---|---|---|---|---|---|---|---|---|---|---|---|---|
| Rapid jab | |||||||||||||||||||||||||||||||||||
| Jab 3 |
| Lag time |
Hitbox |
Continuable |
Earliest continuable point |
Interruptible |
|

