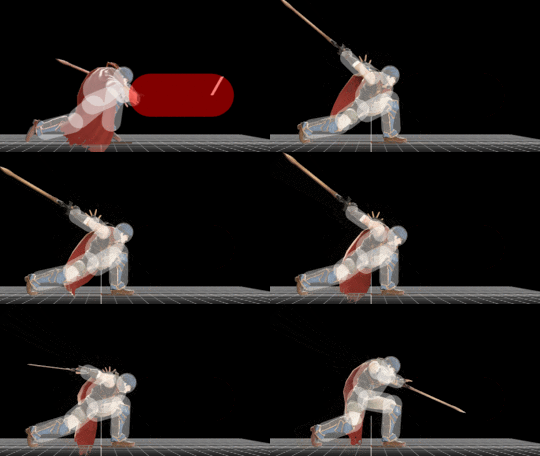
< Ike (SSB4) | Side special
Serpent King (talk | contribs) No edit summary |
m (Text replacement - "== ([^=])" to "== $1") |
||
| (2 intermediate revisions by 2 users not shown) | |||
| Line 1: | Line 1: | ||
{{ArticleIcons|ssb4=y}} | {{ArticleIcons|ssb4=y}} | ||
{{disambig2|the hitbox visualization in ''[[Super Smash Bros. 4]]''|the move itself|Quickdraw}} | |||
[[File:IkeQuickDraw.gif|thumb|270px|Hitbox visualization showing Ike's Quickdraw.]] | [[File:IkeQuickDraw.gif|thumb|270px|Hitbox visualization showing Ike's Quickdraw.]] | ||
{{competitive expertise}} | {{competitive expertise}} | ||
| Line 5: | Line 6: | ||
==Hitboxes== | ==Hitboxes== | ||
{{SSB4HitboxTableHeader}} | {{SSB4HitboxTableHeader}} | ||
{{SSB4HitboxTableRow | {{SSB4HitboxTableRow | ||
| Line 28: | Line 28: | ||
}} | }} | ||
|} | |} | ||
{{MvSubNavIke|g=SSB4}} | {{MvSubNavIke|g=SSB4}} | ||
[[Category:Ike (SSB4)]] | [[Category:Ike (SSB4)]] | ||
[[Category:Special | [[Category:Special moves (SSB4)]] | ||
[[Category:Side special moves (SSB4)]] | [[Category:Side special moves (SSB4)]] | ||
Latest revision as of 21:21, April 12, 2022
HitboxesEdit
| ID | Part | Damage | SD | Angle | BK | KS | FKV | Radius | Bone | Offset | SDIx | H× | T% | Clang | Rebound | Type | Effect | G | A | Sound | Direct | ||
|---|---|---|---|---|---|---|---|---|---|---|---|---|---|---|---|---|---|---|---|---|---|---|---|
| 0 | 0 | 6% | 0 | 70 | 88 | 0 | 3.5 | 0 | 0.0 | 7.7 | 18.0 | 1.0x | 1.0x | 0% | Slam | ||||||||
|


