| Stage |
Layout |
Theme |
Hazards |
Location
|
| Skyworld |
 |
Clouds |
Autoscrolls |
Hidden behind one of the rising and falling pillars.
|
| Sea of Clouds |
 |
Clouds |
None |
Above the open section with the Feyesh.
|
| The Jungle |
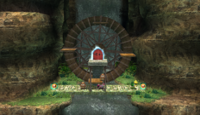 |
Jungle |
Enemies, revolving platforms |
Destroy the 3x3 blocks with the topmost tracker ball in the tracker ball section.
|
| The Jungle |
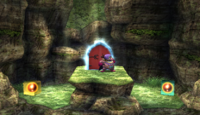 |
Jungle |
None |
Platform to the left in the waterfall section.
|
| The Plain |
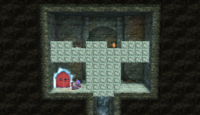 |
Ruins |
Bottomless pit |
Above the 2 overhead parallel walls in the ruins section.
|
| The Lake |
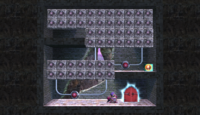 |
Ruins |
None |
Floating door midway through boat ride.
|
| The Ruined Zoo |
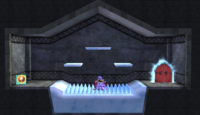 |
Concrete |
Falling platforms, spikes, ice |
In the crevice in the bottom right of the large boxy platform with Tickens.
|
| The Battlefield Fortress |
 |
Underground |
Minecart, spikes |
In a crevice on the ground just after the first minecart of the underground section.
|
| The BattleField Fortress |
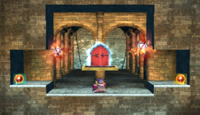 |
Castle |
Jyk |
Behind locked gate in the castle section at the beginning.
|
| The Forest |
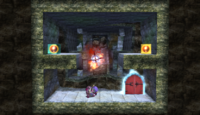 |
Ruins |
Jyk |
Between 2 of the skinny trees.
|
| The Lake Shore |
 |
Cave |
Water |
Destroy blocks in crevice up and to the left of red hot pokers section.
|
| The Lake Shore |
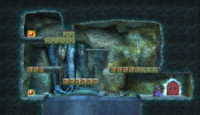 |
Cave |
Water, falling blocks |
Defeat the Shaydas by the sinister face carved in the wall in the cave.
|
| The Path to the Ruins |
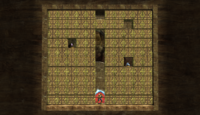 |
Desert ruins |
N/A |
In one of the "bottomless pits" in the section with multiple pits. The one just before the Borboras which helpfully tries to push you in.
|
| The Cave |
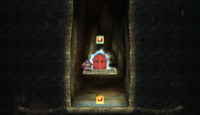 |
Cave |
Crushing |
Above the final crushing stone pillar. Wait for it to drop all the way.
|
| The Cave |
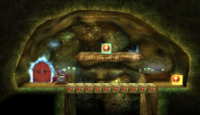 |
Cave |
Falling platform, falling blocks |
Guarded by mini crushing stone pillar at the end.
|
| The Ruins |
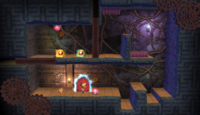 |
Underground ruins |
Timed doors (crushing), spikes |
Solve the 3-button puzzle with the Roturret above it.
|
| The Ruins |
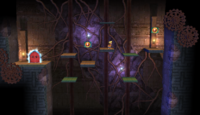 |
Underground ruins |
Moving platforms, bottomless pit |
To the left in the downwards autoscrolling section with the moving platform and crystal spikes.
|
| The Wilds 1 |
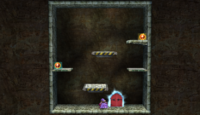 |
Desert ruins |
Moving platforms |
In the crevice at the top right end of the very large wall after the first autoscroll falling section.
|
| The Wilds 1 |
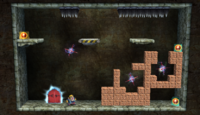 |
Desert ruins |
Moving platforms, spikes, Jyk |
In the top right of the cannon section at the end.
|
| The Wilds 2 |
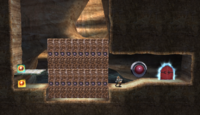 |
Desert |
N/A |
Under the middle lift in the section with the 3 consecutive lifts.
|
| The Swamp |
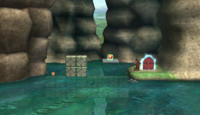 |
Swamp |
Water |
In a crevice below the pyramid shaped wooden spikes towards the end of one of the swamp segments.
|
| The Swamp |
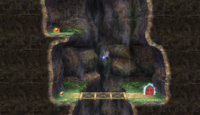 |
Jungle |
N/A |
On a platform to the left, partway through the vertical autoscroller with the ladders.
|
| The Research Facility 2 |
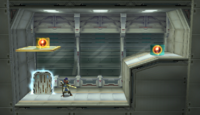 |
Facility |
N/A |
Below the long ladder near the start. Hit the button to lower red platforms.
|
| The Research Facility 2 |
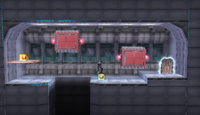 |
Facility |
Bottomless pit, spikes, crushing |
Between 2 sets of bomb blocks below an ambush in the section with the gear platforms. Take the ladder.
|
| Outside the Ancient Ruins |
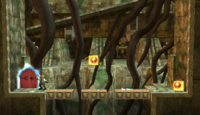 |
Ancient ruins |
Falling blocks, bottomless pit |
Above the destroyable block platforms after the first ambush.
|
| Outside the Ancient Ruins |
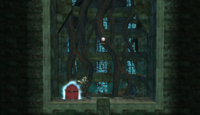 |
Ancient ruins |
Bottomless pit |
In the open area at the beginning of the level.
|
| The Glacial Peak |
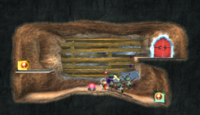 |
Underground |
Primids, darkness |
After the long-distance vertical cannon. Appears after firing from it.
|
| The Glacial Peak |
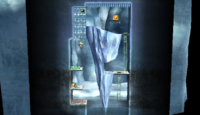 |
Ice |
Water, spikes |
To the right at the beginning of the crosswind section.
|
| Battleship Halberd Interior |
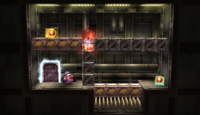 |
Battleship |
Jyk, falling blocks, spikes |
Hit the button hidden by the leftmost block of the 3rd of 3 lines of falling blocks near the beginning.
|
| Battleship Halberd Interior |
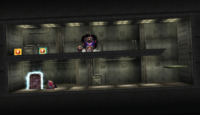 |
Battleship |
Glire spawner |
Through the false wall up and to the right of the spawner in the bottom right chamber of the destroy spawner section.
|
| The Subspace Bomb Factory 1 |
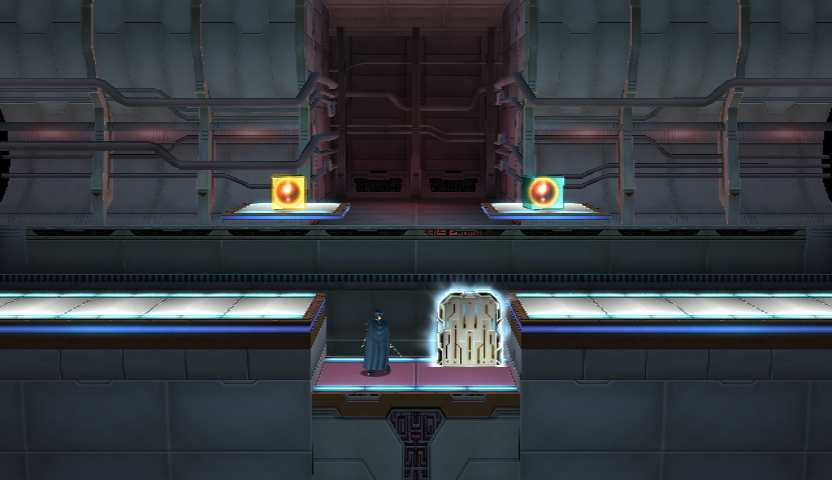 |
Facility |
Ambush |
Lower middle left section on the first lift (or second floor on left if you prefer).
|
| The Subspace Bomb Factory 1 |
 |
Facility |
N/A |
Top left section on the second lift, defeat ROBs to reveal door.
|
| The Subspace Bomb Factory 2 |
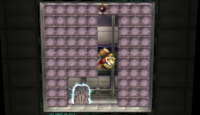 |
Facility |
N/A |
Above and to the left of the blue switch.
|
| The Subspace Bomb Factory 2 |
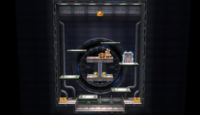 |
Facility |
N/A |
On one of the revolving platforms immediately after the first ambush.
|