SSB4 Icon.png

Samus (SSB4)/Forward tilt: Difference between revisions

From SmashWiki, the Super Smash Bros. wiki
Jump to navigationJump to search
No edit summary
No edit summary
Line 1: Line 1:
{{ArticleIcons|ssb4=y}}
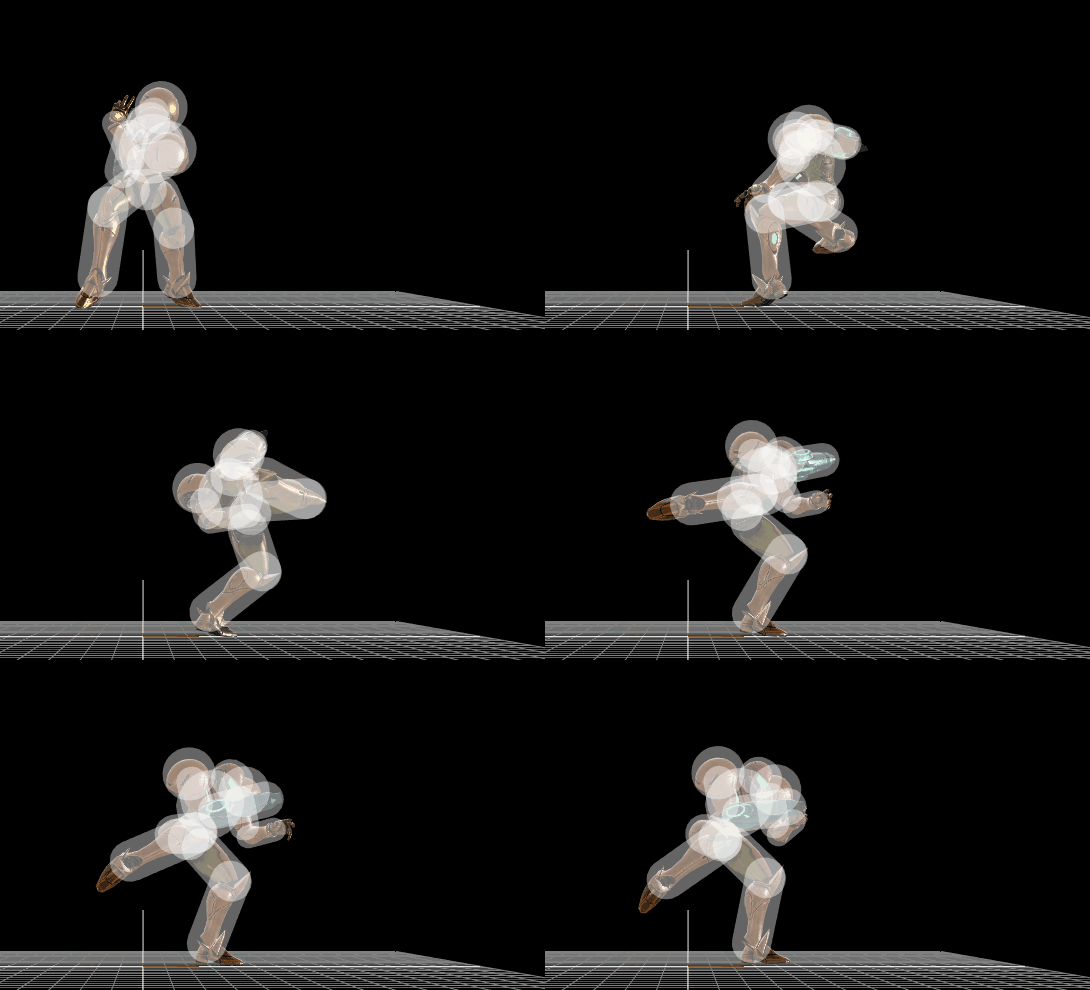
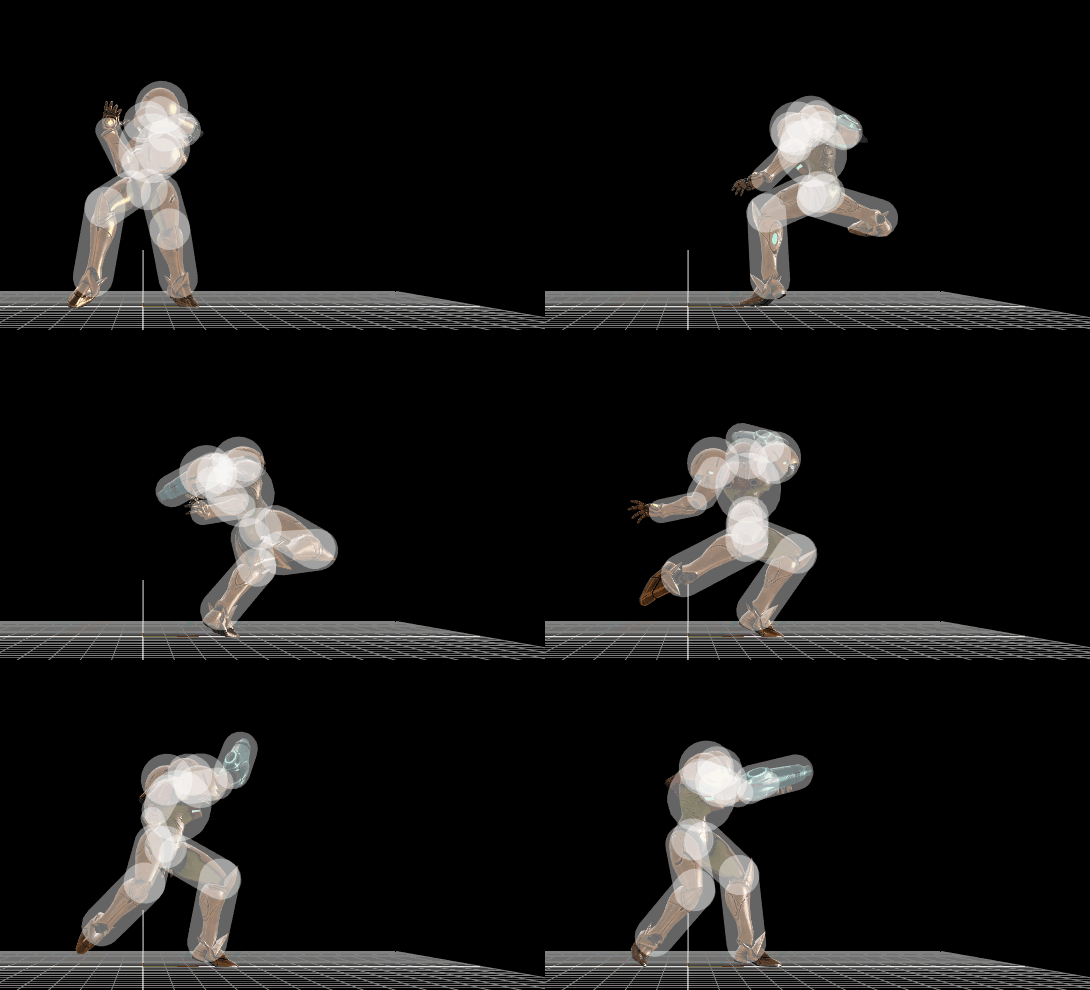
[[File:SamusFTiltUp.gif|thumb|270px|Hitbox visualization of Samus's forward tilt angled up.]]
{|class="wikitable" style="float:right; margin:4pt;"
[[File:SamusFTilt.gif|thumb|270px|Hitbox visualization of Samus's forward tilt.]]
!colspan=2|Samus forward tilt hitbox visualization
[[File:SamusFTiltDown.gif|thumb|270px|Hitbox visualization of Samus's forward tilt angled down.]]
|-
!↗
|[[File:SamusFTiltUp.gif|270px]]
|-
!→
|[[File:SamusFTilt.gif|270px]]
|-
!↘
|[[File:SamusFTiltDown.gif|270px]]
|}
{{competitive expertise}}
{{technical data}}
{{technical data}}

Revision as of 16:03, January 10, 2018

Samus forward tilt hitbox visualization
SamusFTiltUp.gif
SamusFTilt.gif
SamusFTiltDown.gif
Competitive.png This article or section may require competitive expertise.
You can discuss this issue on the talk page or edit this page to improve it.
Data.png This article or section may require additional technical data.
You can discuss this issue on the talk page or edit this page to improve it.

Hitboxes

Angled up/down

ID Part Damage SD Angle BK KS FKV Radius Bone Offset SDIx T% Clang Rebound Type Effect G A Sound Direct
0 0 8% 0 Sakurai angle 20 70 0 1.8 8 -1.5 0.0 0.0 1.0x 1.0x 0% HitboxTableIcon(Clang).png HitboxTableIcon(Rebound).png TypeIcon(Foot).png EffectIcon(Normal).png HitboxTableIcon(GroundedTrue).png HitboxTableIcon(AerialTrue).png S Kick SpecialsDirect.png
1 0 9% 0 Sakurai angle 20 70 0 2.8 3 0.0 0.8 4.5 1.0x 1.0x 0% HitboxTableIcon(Clang).png HitboxTableIcon(Rebound).png TypeIcon(Foot).png EffectIcon(Normal).png HitboxTableIcon(GroundedTrue).png HitboxTableIcon(AerialTrue).png M Kick SpecialsDirect.png
2 0 10% 0 Sakurai angle 30 100 0 3.0 9 -0.6 0.5 0.0 1.0x 1.0x 0% HitboxTableIcon(Clang).png HitboxTableIcon(Rebound).png TypeIcon(Foot).png EffectIcon(Normal).png HitboxTableIcon(GroundedTrue).png HitboxTableIcon(AerialTrue).png M Kick SpecialsDirect.png
3 0 11% 0 Sakurai angle 30 100 0 3.0 9 6.0 -0.5 0.0 1.0x 1.0x 0% HitboxTableIcon(Clang).png HitboxTableIcon(Rebound).png TypeIcon(Foot).png EffectIcon(Normal).png HitboxTableIcon(GroundedTrue).png HitboxTableIcon(AerialTrue).png M Kick SpecialsDirect.png

Angled forward

ID Part Damage SD Angle BK KS FKV Radius Bone Offset SDIx T% Clang Rebound Type Effect G A Sound Direct
0 0 7% 0 Sakurai angle 20 70 0 1.8 8 -1.5 0.0 0.0 1.0x 1.0x 0% HitboxTableIcon(Clang).png HitboxTableIcon(Rebound).png TypeIcon(Foot).png EffectIcon(Normal).png HitboxTableIcon(GroundedTrue).png HitboxTableIcon(AerialTrue).png S Kick SpecialsDirect.png
1 0 9% 0 Sakurai angle 20 70 0 2.8 3 0.0 0.8 4.5 1.0x 1.0x 0% HitboxTableIcon(Clang).png HitboxTableIcon(Rebound).png TypeIcon(Foot).png EffectIcon(Normal).png HitboxTableIcon(GroundedTrue).png HitboxTableIcon(AerialTrue).png M Kick SpecialsDirect.png
2 0 10% 0 Sakurai angle 30 100 0 -0.6 9 -0.6 0.5 0.0 1.0x 1.0x 0% HitboxTableIcon(Clang).png HitboxTableIcon(Rebound).png TypeIcon(Foot).png EffectIcon(Normal).png HitboxTableIcon(GroundedTrue).png HitboxTableIcon(AerialTrue).png M Kick SpecialsDirect.png
3 0 11% 0 Sakurai angle 30 100 0 3.0 9 6.0 -0.5 0.0 1.0x 1.0x 0% HitboxTableIcon(Clang).png HitboxTableIcon(Rebound).png TypeIcon(Foot).png EffectIcon(Normal).png HitboxTableIcon(GroundedTrue).png HitboxTableIcon(AerialTrue).png M Kick SpecialsDirect.png