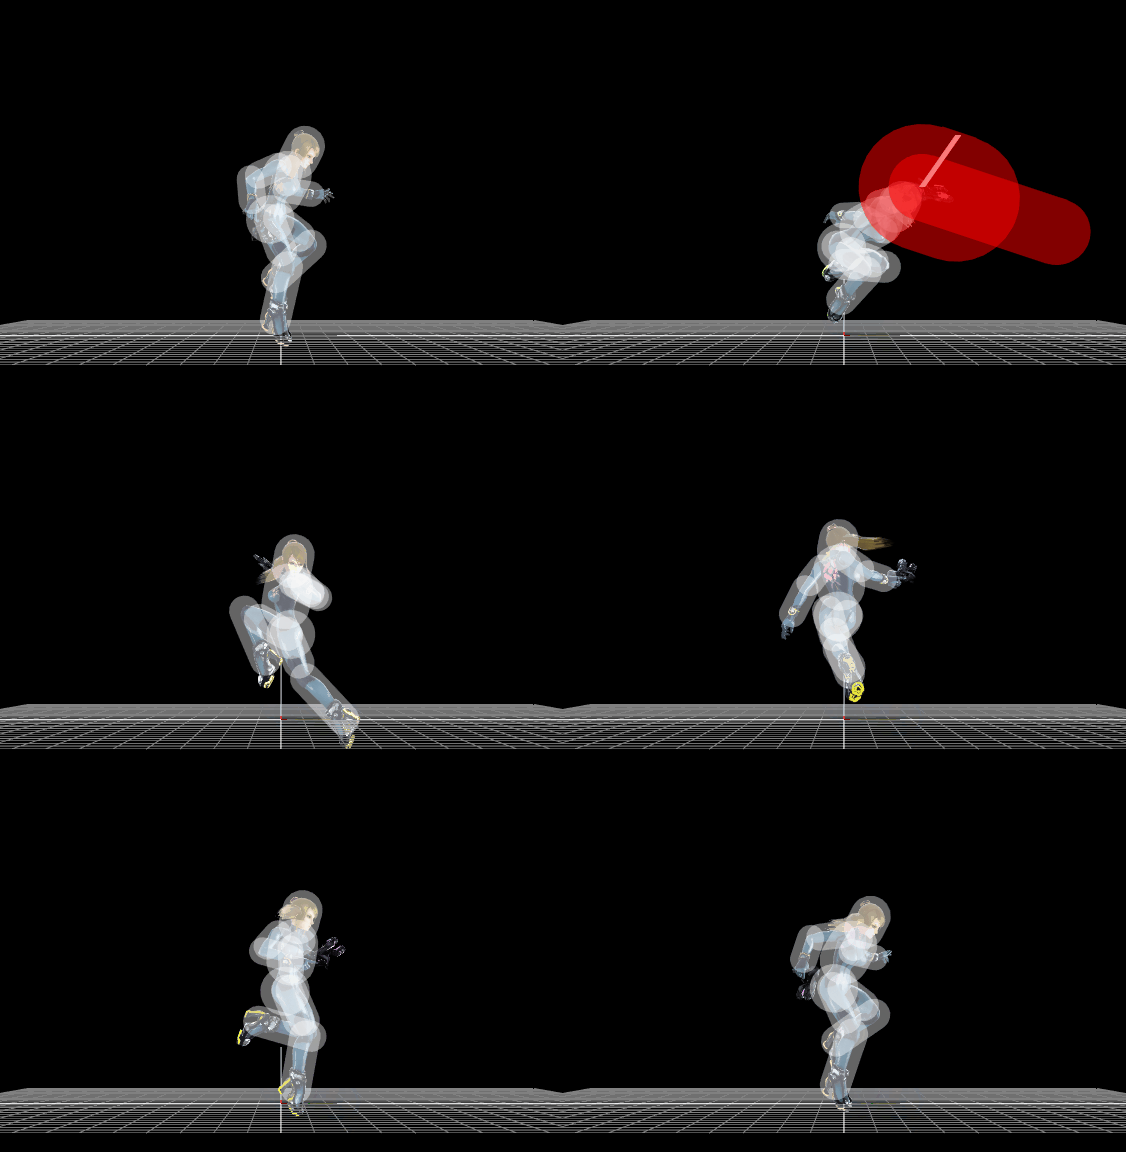
Zero Suit Samus (SSB4)/Neutral aerial
Overview[edit]
Update history[edit]
In earlier versions of the game, neutral aerial was a more powerful move, dealing 10% damage in addition to having more range. The move was fairly unsafe on shield in earlier versions of the game despite its low landing lag, being -11 on shield with a perfectly timed landing. This was because the electric effect the move has gave Zero Suit Samus a lot more hitlag on shield compared to her opponent. In update 1.1.1 however, the move became a lot safer, due to the universal increase to shieldstun and the homogenisation of hitlag on shield. The move went from -11 on shield, all the way down to -2, which made it completely unpunishable on regular shield against the entire cast. On powershield, the move became -4, which was still low enough to only allow some characters to get quick jab or tilt punishes.
In update 1.1.5 however, neutral aerial did receive some nerfs. The move's damage went down from 10% to 8%, although its knockback was still extremely similar. This did not affect the move on hit much but this did make the move more punishable on shield, now being -4 on shield. This enabled certain characters to now punish the move on shield (including Bayonetta), in addition to the move becoming -5 on powershield, opening up more power shield punish opportunities for more characters. The move still remained safe against a majority of the cast however and even against characters who could punish it, Zero Suit Samus could still space the move to make it safe (albeit to a lesser extent). The move's range was also reduced overall, making it even harder for Zero Suit Samus to hit smaller characters with the move, as well as limiting how much she could space the move.
Overall, neutral aerial is a less effective move than in earlier versions of the game but not by a significant amount. The lower damage did not hurt the move too much, nor did the reduced range on the move. It still remains a strong and effective tool in Zero Suit Samus' kit.
 Neutral aerial deals less damage (10% → 8%), with its knockback compensated (40 (base), 80 (scaling) → 38/96).
 The near hit has a smaller hitbox (6u → 5.7u (front)/5.6u (back)) and it does not extend as far (z stretch: 11 (front)/-9 (back) → 10/-6.6), giving it less range.
 The back hit's near hitbox does not extend as high (y stretch: 14.6 → 13.8), giving it less range above Zero Suit Samus.
 The far hitbox does not extend as far (z stretch: 20 (front)/-16 (back) → 19/-15), giving it less range.
 The far hitbox extends slightly lower (y stretch: 7.5 (front)/17 (back) → 7/16.5), giving it slightly more range below Zero Suit Samus.
Hitboxes[edit]
Timing[edit]
| Initial autocancel | 1-3 |
|---|---|
| Front hit | 10-11 |
| Back hit | 15-16 |
| Ending autocancel | 42- |
| Animation length | 51 |
Landing lag[edit]
| Animation length | 10 |
|---|
Lag time |
Hitbox |
Autocancel |
|

