Wario (SSBB)/Hitboxes
From SmashWiki, the Super Smash Bros. wiki
Jump to navigationJump to search
Hitboxes[edit]
| Hurtboxes | |
|---|---|
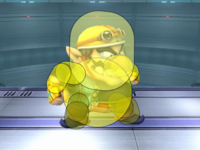
|
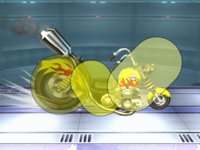
|
| Color Legend | |||||||||||||
|---|---|---|---|---|---|---|---|---|---|---|---|---|---|
| Types | Effects | ||||||||||||
| Typeless | Head | Body | Butt | Hand | Foot | Throwing | Weapon | Explosive | Spin | Bite | Normal | Slash | Slip |
| Wario's Hitboxes | ||||||
|---|---|---|---|---|---|---|
| Neutral | 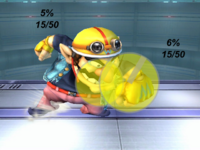 Hit 1 |
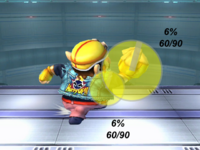 Hit 2 | ||||
| F-Tilt | 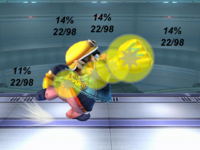 Angled Up |
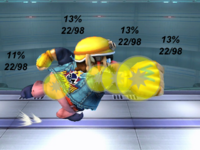 Angled Side |
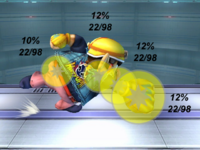 Angled Down | |||
| U-Tilt | 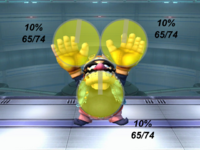 Clean |
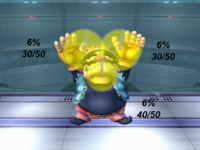 Late | ||||
| D-Tilt | 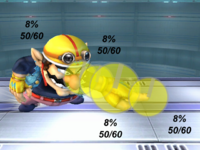
| |||||
| Dash | 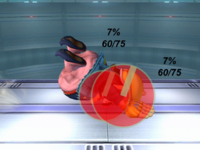 Clean |
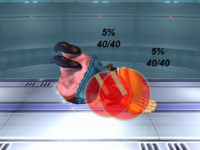 Late (on grounded opponents) |
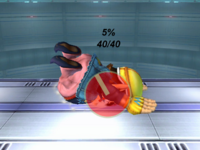 Late (on aerial opponents) | |||
| U-Smash | 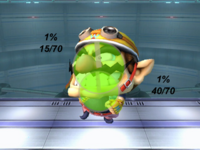 Hit 1 |
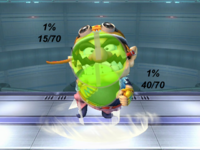 Hit 2 |
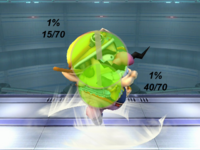 Hit 3 | |||
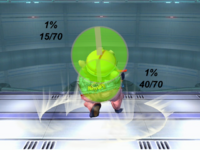 Hit 4 |
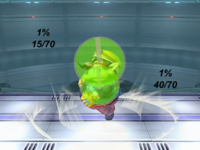 Hit 5 |
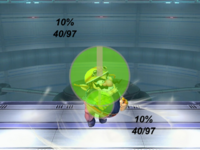 Hit 6 | ||||
| D-Smash | 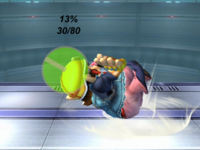 Clean |
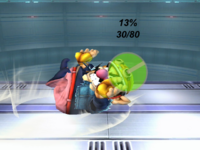 Clean |
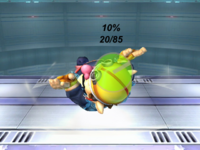 Mid | |||
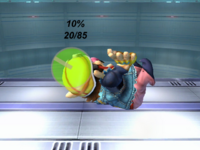 Mid |
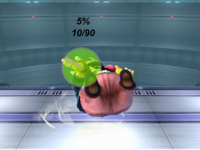 Late |
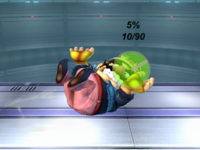 Late | ||||
| F-Smash | 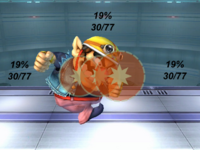 |
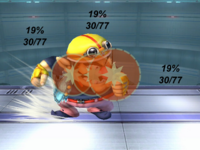 |
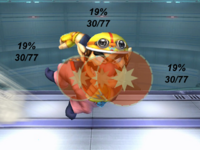
| |||
| Nair | 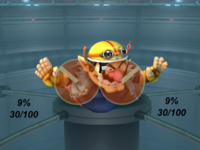 Clean |
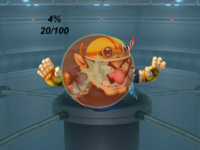 Late | ||||
| Fair | 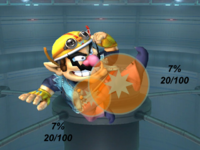 Clean |
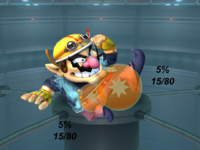 Late | ||||
| Bair | 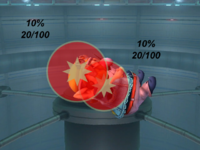 |
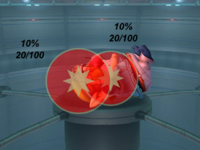
| ||||
| Uair | 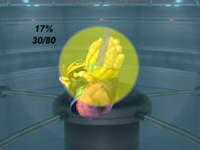
| |||||
| Dair | 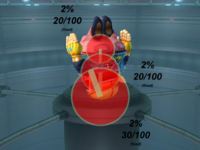 Hits 1-6 |
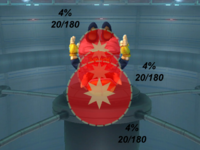 Hit 7 | ||||
| Shield | 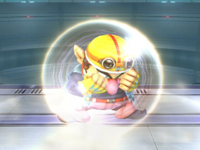
| |||||
| Grab | 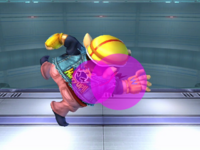 Standing |
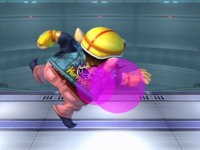 Running |
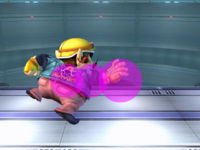 Pivot | |||
| Pummel | 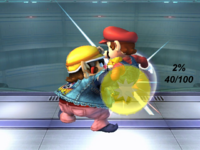
| |||||
| F-Throw | 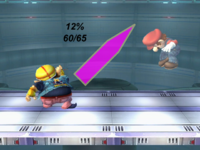
| |||||
| B-Throw | 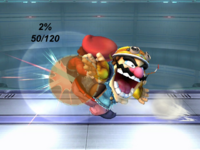 Hit 1 |
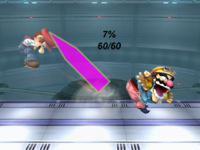 Throw | ||||
| U-Throw | 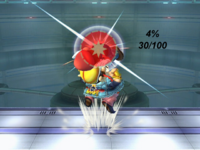 Hit 1 |
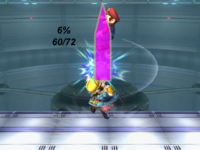 Throw | ||||
| D-Throw | 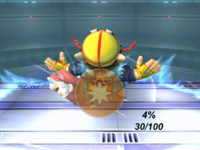 Hit 1 |
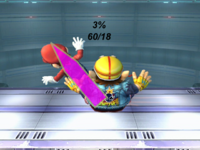 Throw | ||||
| Floor (back) | 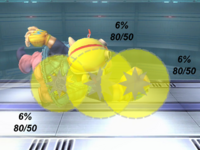 Hit 1 |
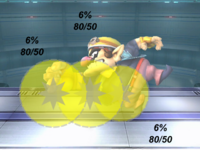 Hit 2 | ||||
| Floor (front) | 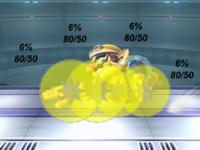 Hit 1 |
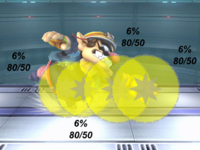 Hit 2 | ||||
| Floor (trip) | 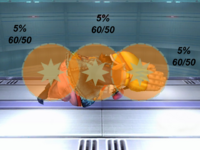 Hit 1 |
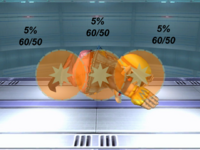 Hit 2 | ||||
| Edge (fast) | 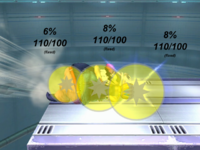
| |||||
| Edge (slow) | 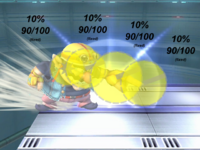
| |||||
| Neutral special (Chomp) |
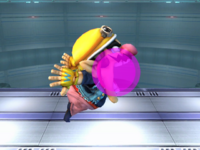 Grab |
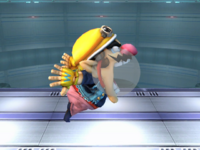 Item swallowing zone |
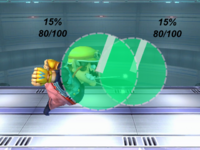 Chomp (SSE) | |||
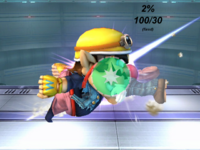 Bite |
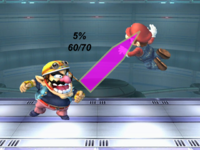 Release |
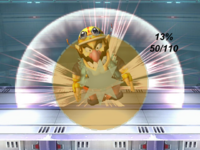 Explosion | ||||
| Side special (Wario Bike) |
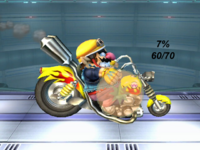 Drive |
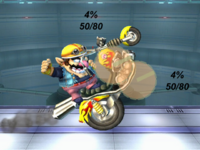 Wheelie | ||||
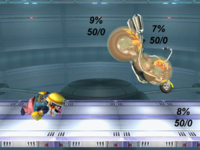 Throw |
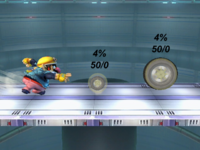 Tires | |||||
| Up special (Corkscrew) |
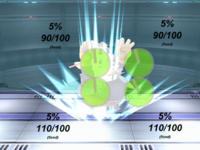 Hit 1 |
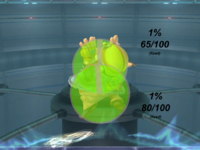 Hits 2-11 |
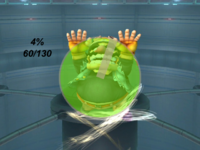 Hit 12 | |||
| Down special (Wario Waft) |
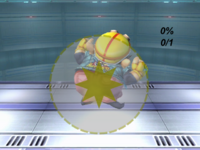 Uncharged |
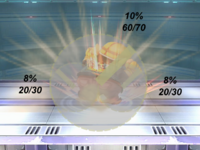 Partly charged |
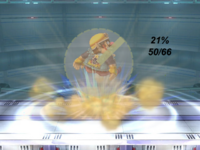 Mostly charged | |||
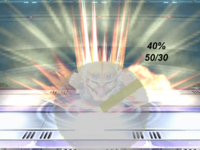 Fully charged (clean) |
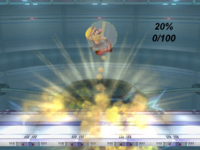 Fully charged (late) | |||||
Notes[edit]
- The angle of a hitbox is displayed as a line. Note that all angles are based on what side of the attacker the target is on - if the target is on the opposite side of the attacker, they will fly in the opposite direction (but at the same angle). Most presented angles assume the target is on the right of the attacker, unless the attack is obviously on the attacker's left.
- An angle indicated with a star (*) is the Sakurai angle.
- An angle indicated with a dash (-) is the autolink angle.
- A hitbox that cannot clang is denoted by a dashed border.
- The colour of a hitbox is its type; the colour of its angle indicator and border is its effect.
- The numbers represent each hitbox's damage and knockback (base knockback/knockback scaling), as well as whether the knockback is fixed.
