Terry (SSBU)/Up special
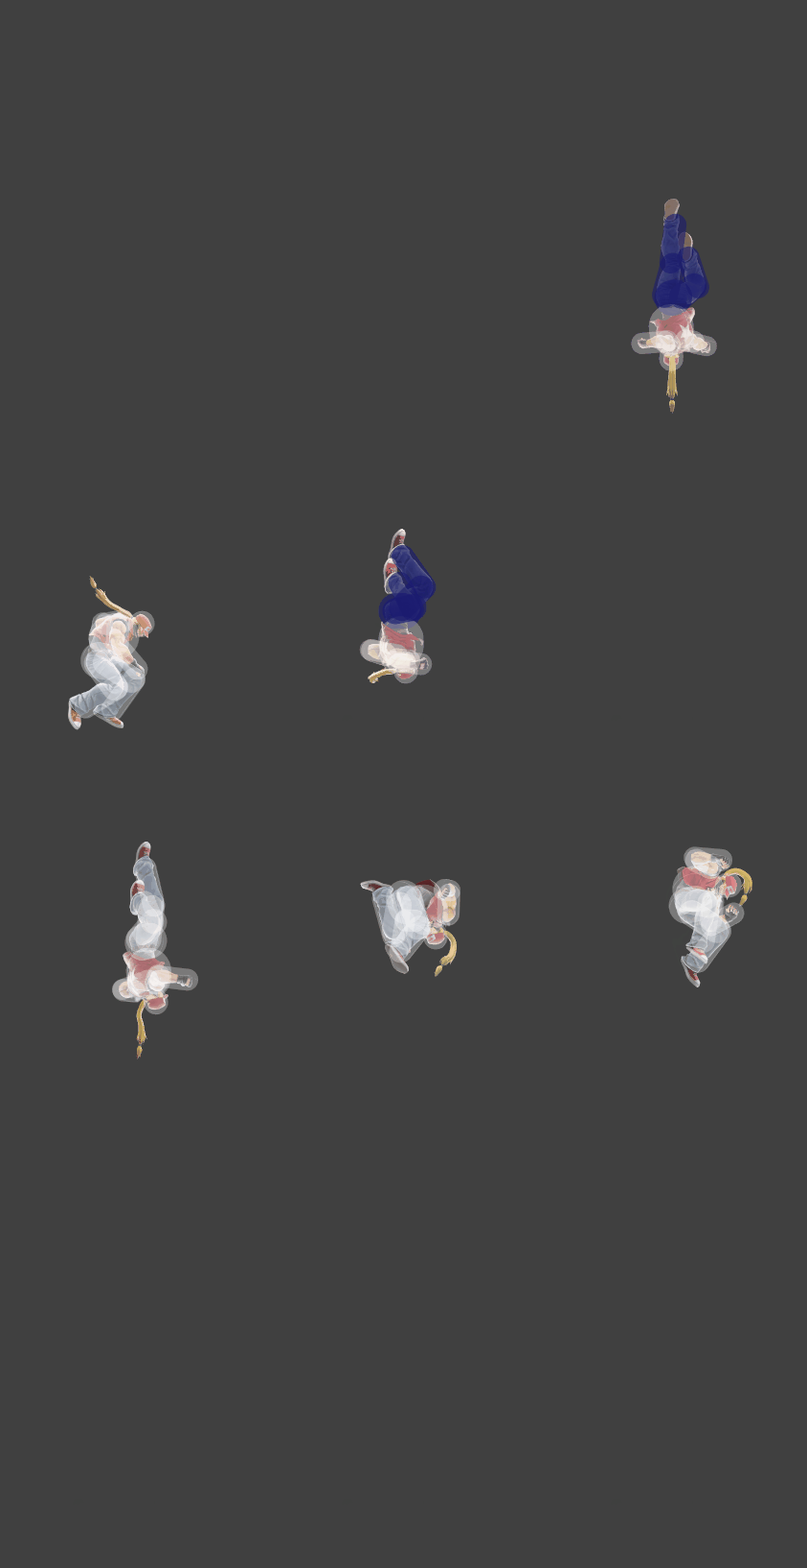
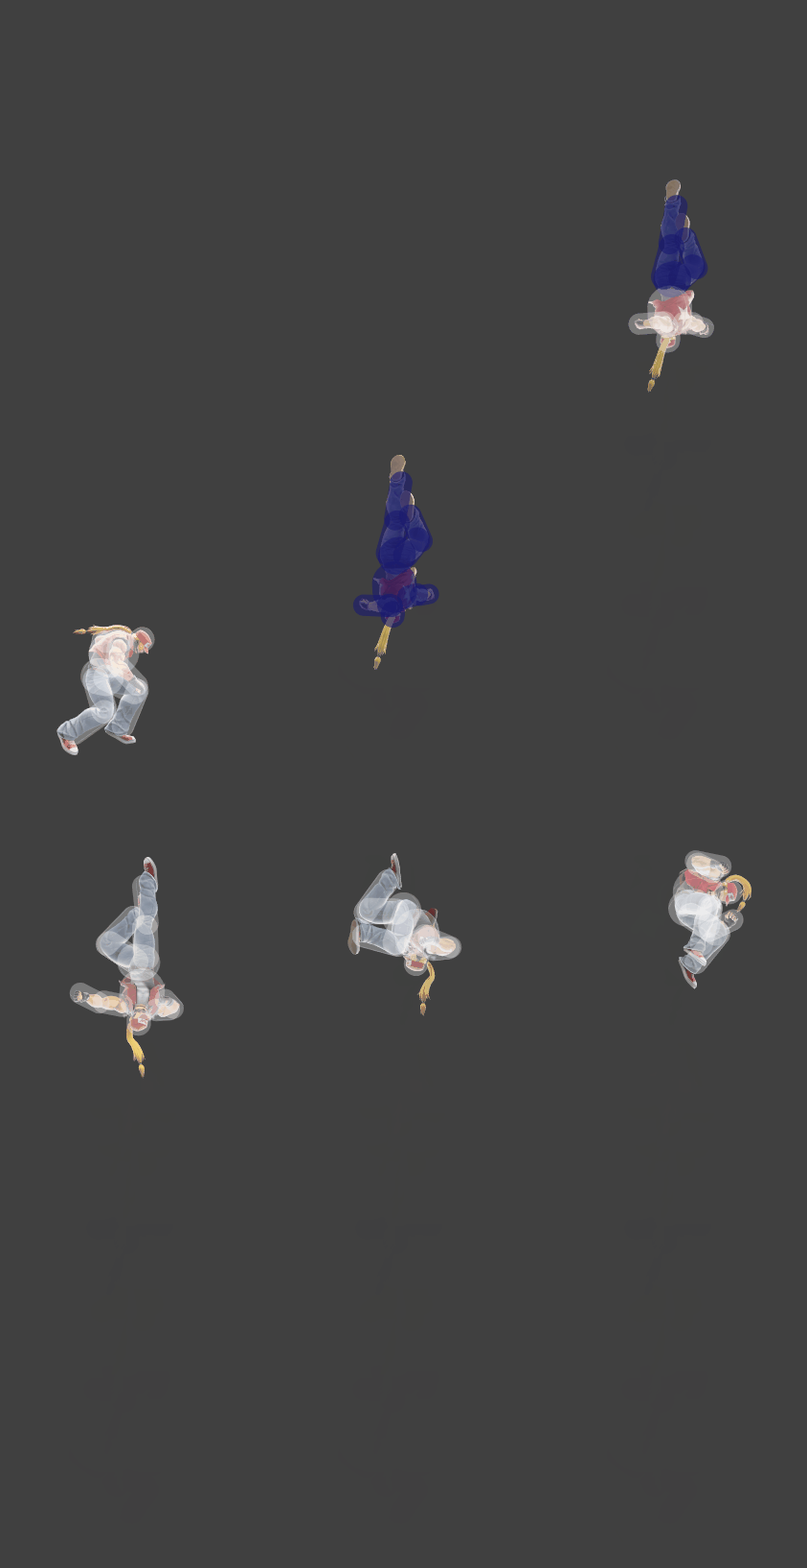
| Terry up special hitbox visualizations | |
|---|---|
| Normal | Command |
 |

|
Overview[edit]
Terry rises upwards, doing a corkscrew kick to perform Rising Tackle. During the move, Terry's legs are intangible, which can be improved by doing the command input (↓ for 24 frames, then ↑ + Attack/Special within 10 frames). Contrary to popular belief, the downward input is extremely lenient, not even requiring Terry to crouch to perform it. With charge partitioning and COIL also being in Ultimate, it's surprisingly easy to succeed with input Rising Tackle. While rising, players can influence the trajectory with the control stick.
Rising Tackle is characterized as Terry's only real form of upward recovery, the only other moves being Power Dunk and his upward airdodge. This makes Rising Tackle a crucial part of Terry's kit, often being his only saving grace. However, due to its very poor edge sweetspot window — frame 31 onwards for strong, 34 for weak, and 41 for the command version regardless of input strength — Terry often leaves himself vulnerable if recovering rashly. Ergo, it's better for Terry to delay his recovery to get the most mileage out of it, which comes with the added bonus of making him very difficult to 2-frame. If using the command input, the added intangibility on his body, as well as additional hitbox activity, can also assist in ensuring Terry doesn't get punished for recovering. This can be easily set up through holding down during moves like Burning Knuckle to store charge, which won't buffer a fast fall without awful timing. Understanding Terry's Smash 4-esque ledgegrab range is also helpful for spacing his recovery correctly.
Rising Tackle is also an excellent damage building tool, working out of moves like neutral attack through charge partitioning to deal more damage than Power Dunk while gaining an advantage thanks to platforms cancelling most of the lag. It's also a great option out of up aerial through means like down throw or just general ladder combos, allowing Terry to KO foes extremely early. down tilt is also an easy way to confirm a command-inputted Rising Tackle, often after two or three hits, as players will normally hold down to pull it off. It's recommended to try and land on platforms while using Rising Tackle, as this greatly reduces the committal nature of the attack thanks to its low landing lag, allowing for much better hit advantage to continue mixing up the opponent.
It's good practice to learn how to use Rising Tackle as an anti-air option, as the intangibility makes it virtually impossible to contest. With the command variation, from the ground, Terry will have full body intangibility on frames 5-16 — a massive number — which invalidates most jump-ins. This gives Terry a solid opportunity to take stocks against inexperienced players that don't respect the move since the move has surprisingly high KO power. Naturally, the strength of this move as an anti-air option will also transition into its out of shield option value, with the frame 5 intangibility effectively making it a frame 5 option against a mashing opponent, despite the frame 10 hitbox.
Despite its incredible upsides, Rising Tackle has relevant downsides. Without moving towards the opponent, Rising Tackle can sometimes fail to connect all its hits, leaving Terry at a massive frame disadvantage. This most frequently happens out of the neutral attack combo when the opponent is attempting to SDI. Similarly, Rising Tackle is extremely unsafe on shield — even as platform pressure without a shield poke — which can further ruin Terry's day. Finally, as aforementioned, failing to edge sweetspot with Rising Tackle will very frequently lead to Terry being KOed extremely early, which must always be accounted for to be successful with the character.
Hitboxes[edit]
Timing[edit]
Lag time |
Hitbox |
Interruptible |
|

