Terry (SSBU)/Side special
| Terry forward special hitbox visualizations | ||
|---|---|---|
| Variation | Non-Input | Input |
| Ground + Tapped | 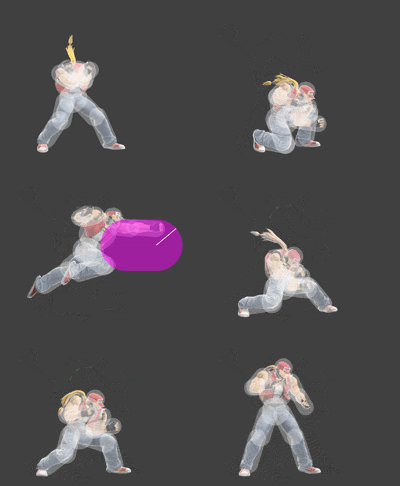 |
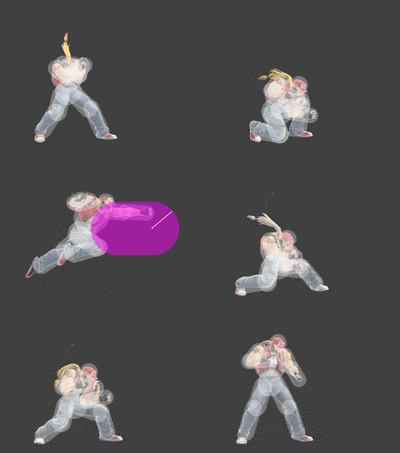
|
| Ground + Held |  |
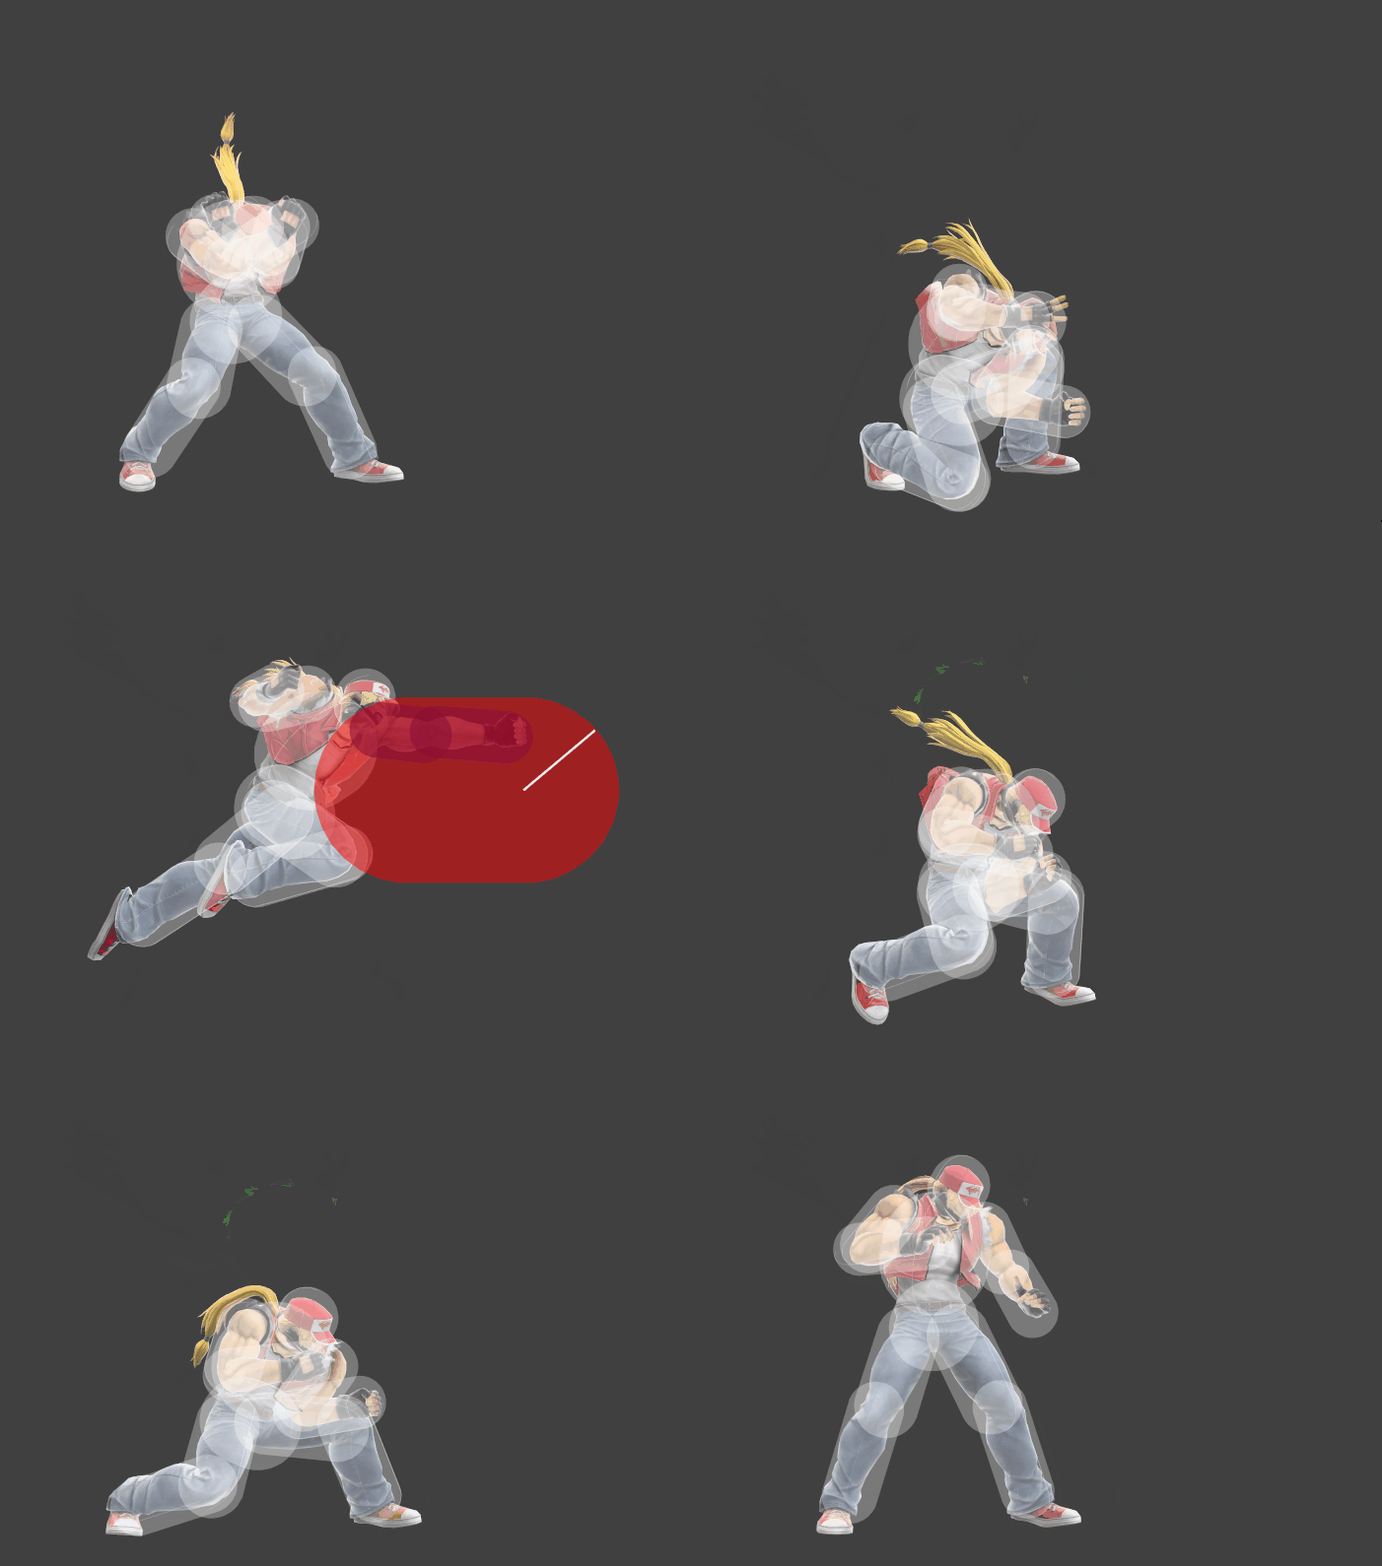
|
| Aerial + Tapped |  |
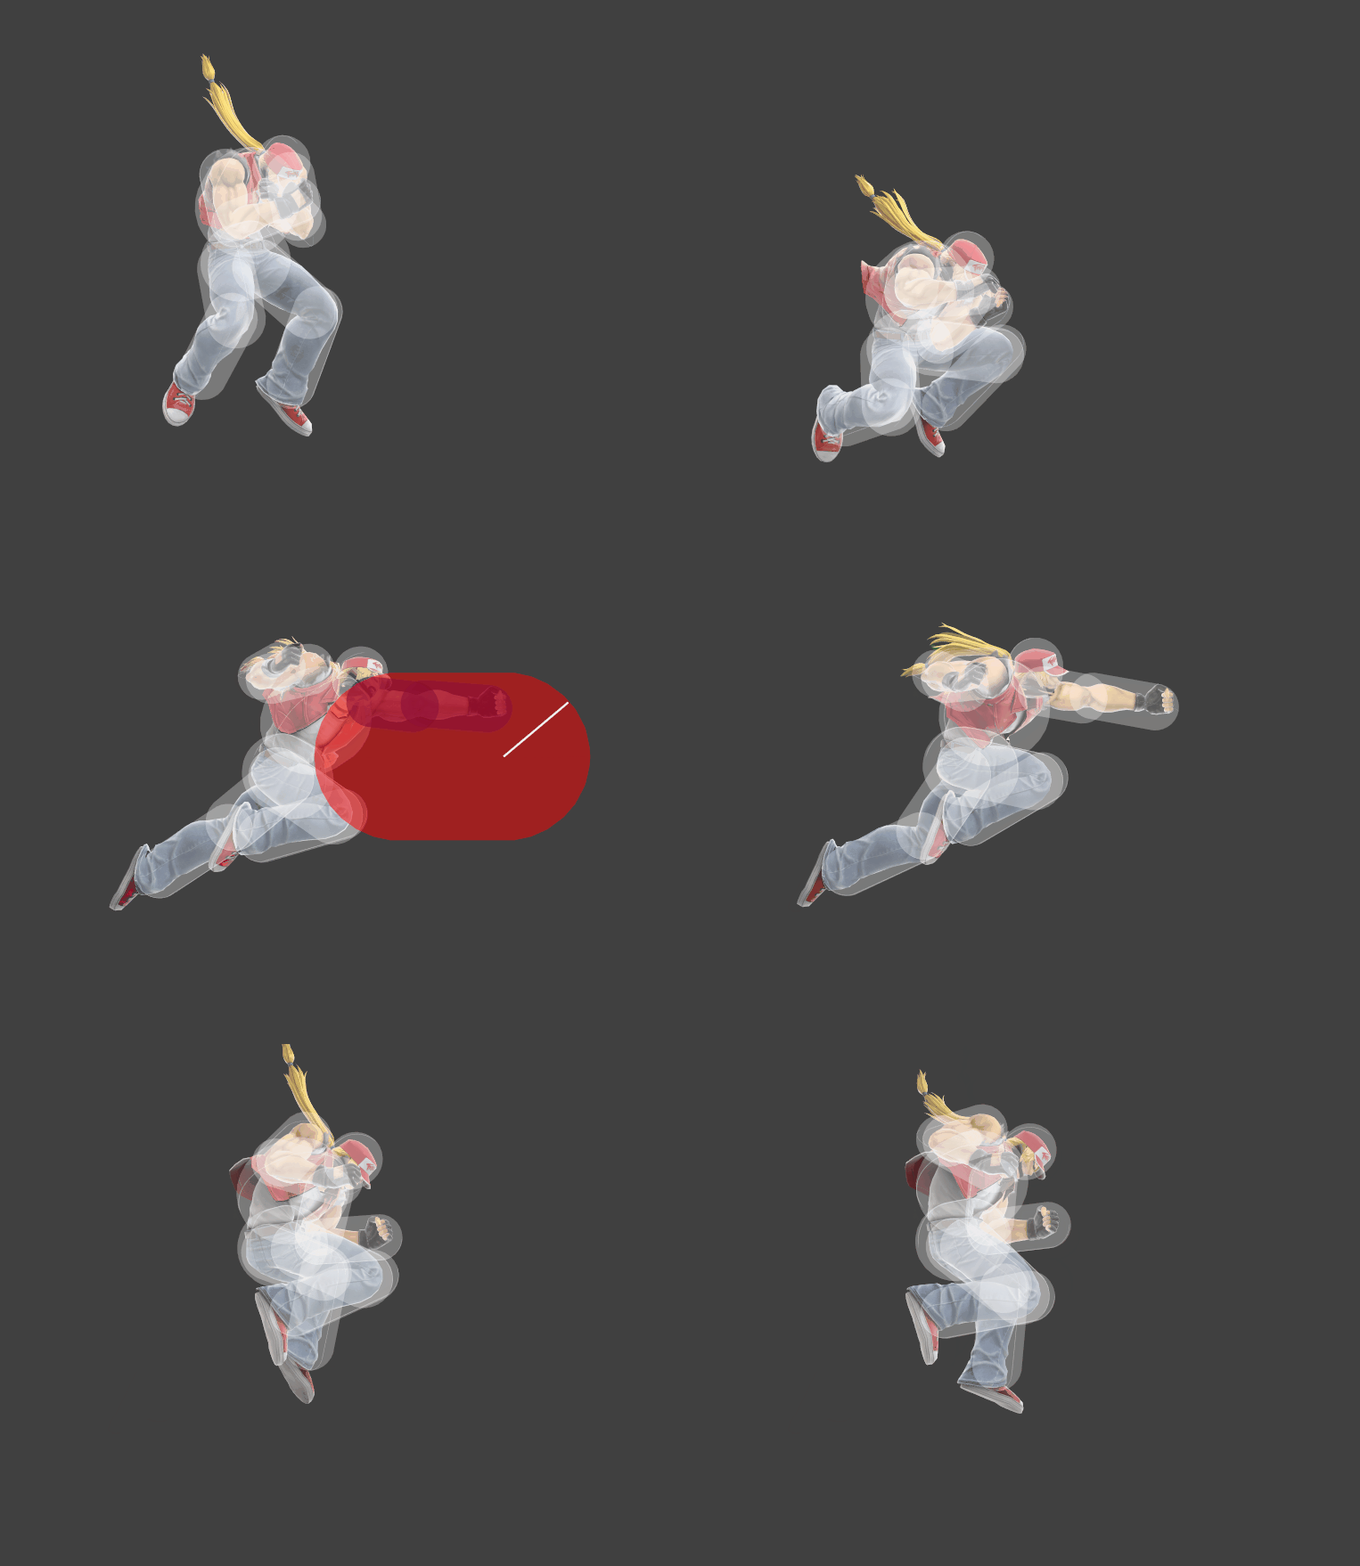
|
| Aerial + Held |  |

|
| Terry back special hitbox visualizations | ||
| Tapped | 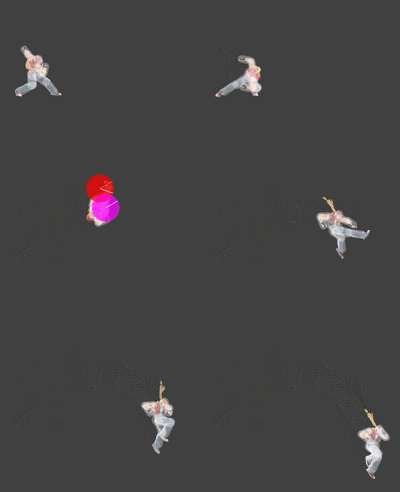
| |
| Held | 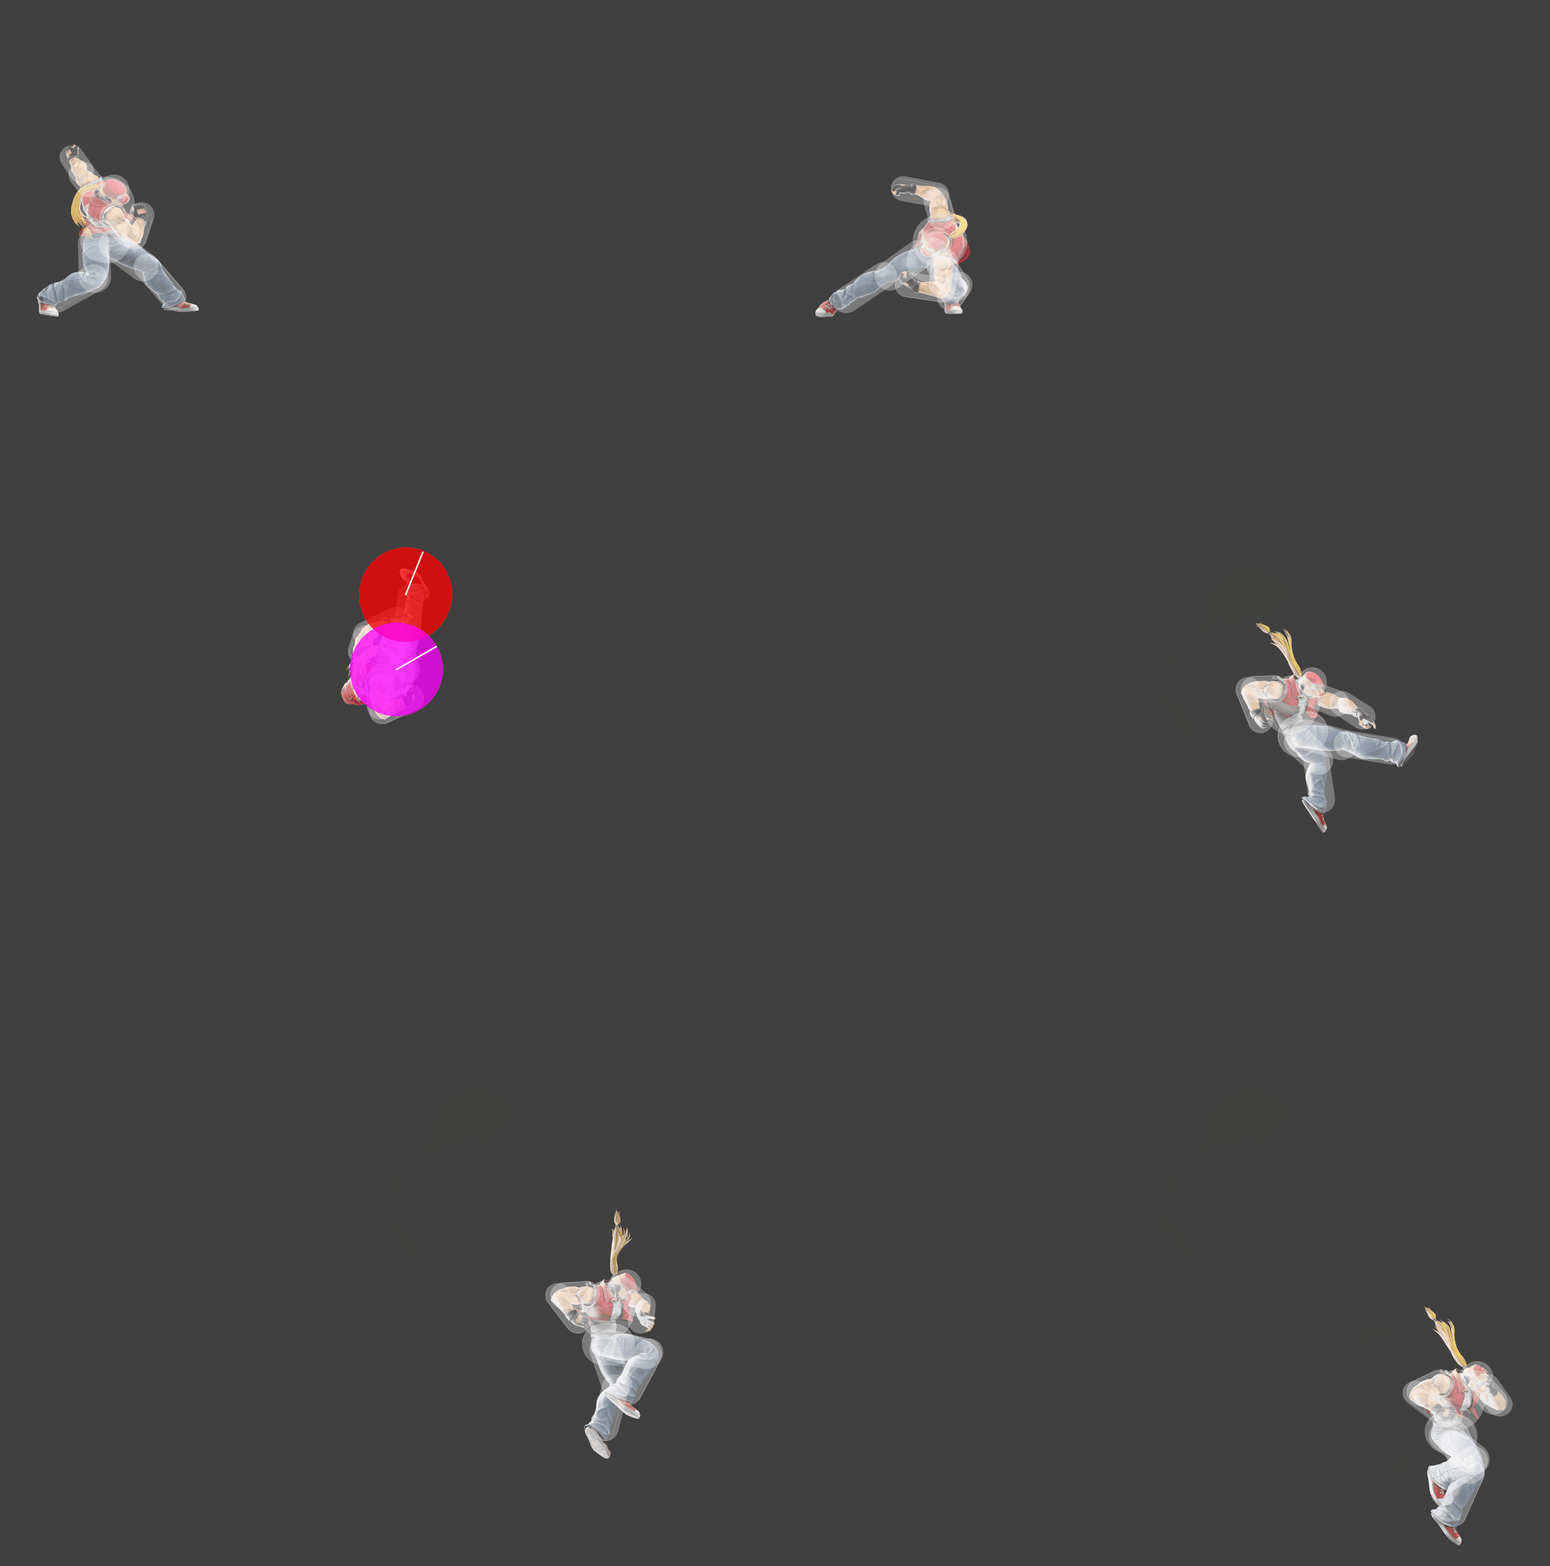
| |
Overview[edit]
Burning Knuckle[edit]
Terry does a star pose of sorts before lunging forward with his fist, performing Burning Knuckle. This move has four variations, each with command and non-command versions, each with differing damage and knockback. Burning Knuckle can be inputted with ↓ ↘ → + Attack/Special.
Burning Knuckle is one of Terry's best moves, acting as his primary burst option. The frame data on Burning Knuckle varies depending on how it's used. If grounded, the move is frame 15 tapped, frame 21 held. If aerial, it's frame 14 tapped, frame 18 held, making it a bit faster in the air in a vacuum. It also has quite a bit of hitbox activity, being active for around 15 frames as a general rule. When inputted with a command, his fist becomes intangible. This gives him an enormous disjointed attack that punishes many approaches, particularly those from swordfighters. Considering its speed in the air, it can even be considered a lynchpin in those matchups, anti-airing almost anything with ample flexibility.
It's no understatement to claim that Burning Knuckle is extremely strong and easy to confirm, KOing foes reasonably early, even with a tapped version. Forward tilt can confirm Burning Knuckle prior to tumble, which can be confirmed by forward aerial or neutral aerial prior. Even at the centre of Final Destination, a command tapped Burning Knuckle will KO Mario at around 135%. This can be improved with down tilt, confirming Burning Knuckle at around 100% for most characters[1], which is usually a kill confirm at the ledge. Neutral aerial can similarly do this, with the early hit confirming the move out of shield, and chaining into the late hit for the same confirm at higher percentages, again confirming a KO. Negative edge can heavily support all of these confirms, always ensuring a weak Burning Knuckle comes out.
The shield pressure Burning Knuckle can dish out makes it fit for multiple purposes. Out of forward tilt's +11 shield advantage on special cancel, a tapped Burning Knuckle can be buffered to cover every out of shield option in the game, even Fire and jumps. Additionally, a strong version can be used after two forward tilts to inflict a shield break, allowing for what should be a stock-taking combo. A command-inputted, aerial tapped Burning Knuckle is reasonably safe on shield as well, being -12 at worst; if hit on the last available frame and used with Tiger Knee, it's -6, allowing Terry to spot dodge or neutral attack out of shield options.
Burning Knuckle will stop at the ledge unless inputted close by, which can be used as a niche edgeguarding option against opponents that have issues sweetspotting the ledge. However, using Tiger Knee, Terry can also go past the ledge to attack horizontal edgeguards, often taking the stock. This gives Terry incredible flexibility if going directly offstage isn't favourable, making it very difficult to get back. Furthermore, if going offstage, Burning Knuckle is a very powerful tool, going directly towards an opponent with a strong hitbox. Very few characters can make it back against Burning Knuckle if they've already burned a jump, with the only restriction on Terry's end being his recovery.
At the same time as being a good edgeguarding tool, Burning Knuckle is a crucial recovery option, sharing the same slot with Crack Shoot, meaning one cannot be used if the other has already. Burning Knuckle is often the safer option if inputted with a command, as the intangibility is often sufficient to contest edgeguard attempts. Inputting downwards to charge Rising Tackle is recommended to prevent a fast fall while also getting to use the command version, which has superior intangibility, KO power, and distance.
Burning Knuckle has some minor flaws, the main one being that it's quite committal and easy to out-frame up-close. This makes it very punishable on whiff in most instances, with only the tapped versions being remotely safe. Ergo, Crack Shoot is often the better option in neutral for its less committal nature. The strong version can also be an inconvenience outside of a hard punish, often hampering combos due to its worse startup, though this is only in specific cases.
Crack Shoot[edit]
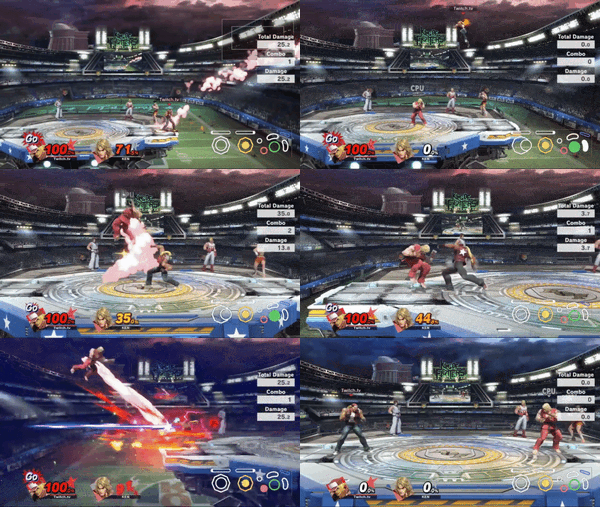
Terry does a spinning heel kick, performing Crack Shoot. Unlike Burning Knuckle's more diverse selection of hitboxes, Crack Shoot only has two variations hitbox-wise, and the command version only increases shield damage. Crack Shoot can be inputted with ↓↙← + Attack/Special. If back is held for 7 frames in the air, Crack Shoot will fly in the opposite direction.
Crack Shoot is Terry's premier anti-air and anti-projectile option, with its massive hitbox making it difficult for aerial opponents to contest. Its launch angle also puts opponents in very awkward positions, making it excellent for juggling opponents and keeping them at a disadvantage, especially with Tiger Knee involved. Thanks to this, Crack Shoot can be seen as an approach option.
If inputted with a command, the shield damage of Crack Shoot drastically increases, with the second hit's foot hitbox gaining a whole 20 HP in shield damage. This makes Crack Shoot a surprisingly strong option for breaking shields alongside Power Wave. This makes it an even stronger approach option, making opponents with damaged shields significantly less inclined to defend against it, lest they lose a stock. In a similar vein, Crack Shoot can be used to escape out of shield options with most of Terry's grounded options, allowing him to cross up and fly out of range. This usually ends with a neutral frame advantage, though perfect shields and the like can make it less safe.
There is some minor combo utility in Crack Shoot if the second hit connects later, which adds credence to its approach utility. This often leads to up aerial and a subsequent charged Rising Tackle. It's also possible to set up tech situations on platforms at some percentages, which can situationally be followed up. However, if Crack Shoot connects up close, its combo utility is negligible at best. Connecting into Crack Shoot is fairly easy, with forward tilt having a particularly large percentage range in comparison to Burning Knuckle.
Crack Shoot's first hit sends at a semi-spike angle, intended to lead into the second hit. However, as is the case with most multi-hit attacks, there are situations where this doesn't happen. In reference to Crack Shoot, this often happens out of up tilt, though it's character-specific and at around 50-70%. If it does happen, opponents often suffer quite a bit of hitstun, allowing for combos and mixups. It's also possible for a Crack Shoot semi-spike to happen on platforms, though this is rare and doesn't often lead to much. Since up tilt is a common method of confirming Crack Shoot, it's good practice to simply react to semi-spikes appropriately when they occur rather than actively fish for them.
As a recovery option, Crack Shoot doesn't differ much from Burning Knuckle, though the arc makes it much better at contesting edgeguard attempts from above. As with Burning Knuckle, holding down during Crack Shoot is recommended to charge Rising Tackle for a better shot at recovering.
Hitboxes[edit]
Burning Knuckle[edit]
Crack Shoot[edit]
Timing[edit]
Burning Knuckle[edit]
| Grounded+Tapped Hitboxes, Non-Command | 15-19, 20-30 |
|---|---|
| Grounded+Held Hitboxes, Non-Command | 21-26, 27-39 |
| Aerial+Tapped Hitboxes, Non-Command | 14-17, 18-26 |
| Aerial+Held Hitboxes, Non-Command | 18-21, 22-30 |
| Grounded+Tapped Hitboxes, Command | 15-21, 22-30 |
| Grounded+Held Hitboxes, Command | 21-28, 24-30 |
| Aerial+Tapped Hitboxes, Command | 14-19, 20-26 |
| Aerial+Held Hitboxes, Command | 18-23, 24-30 |
| Interruptible | ? |
| Animation length | ? |
Lag time |
Hitbox |
Hitbox change |
Autocancel |
Interruptible |
Crack Shoot[edit]
| Tapped Hitboxes | ? |
|---|---|
| Held Hitboxes | ? |
| Interruptible | ? |
| Animation length | ? |
Lag time |
Hitbox |
Hitbox change |
Autocancel |
Interruptible |
References[edit]
- ^ https://twitter.com/azaleaGX/status/1193861797314322432 DTilt → cw.BK True%s, Japanese
|
