SSBB Icon.png

Snake (SSBB)/Forward smash

From SmashWiki, the Super Smash Bros. wiki
< Snake (SSBB)
Revision as of 01:03, August 23, 2018 by Black Vulpine (talk | contribs) (Earmarking for cleanup.)
Jump to navigationJump to search
Data.png This article or section may require additional technical data.
You can discuss this issue on the talk page or edit this page to improve it.
An icon for use on pages that need cleanup. This article or section may require a cleanup.
The editor who added this tag believes this page should be cleaned up for the following reason: Needs to be reformatted for consistency with other attack pages.
You can discuss this issue on the talk page or edit this page to improve it.

Overview

Snake's hitbox for his forward smash in Brawl.
Snake's forward smash in Brawl, with its hitbox shown.

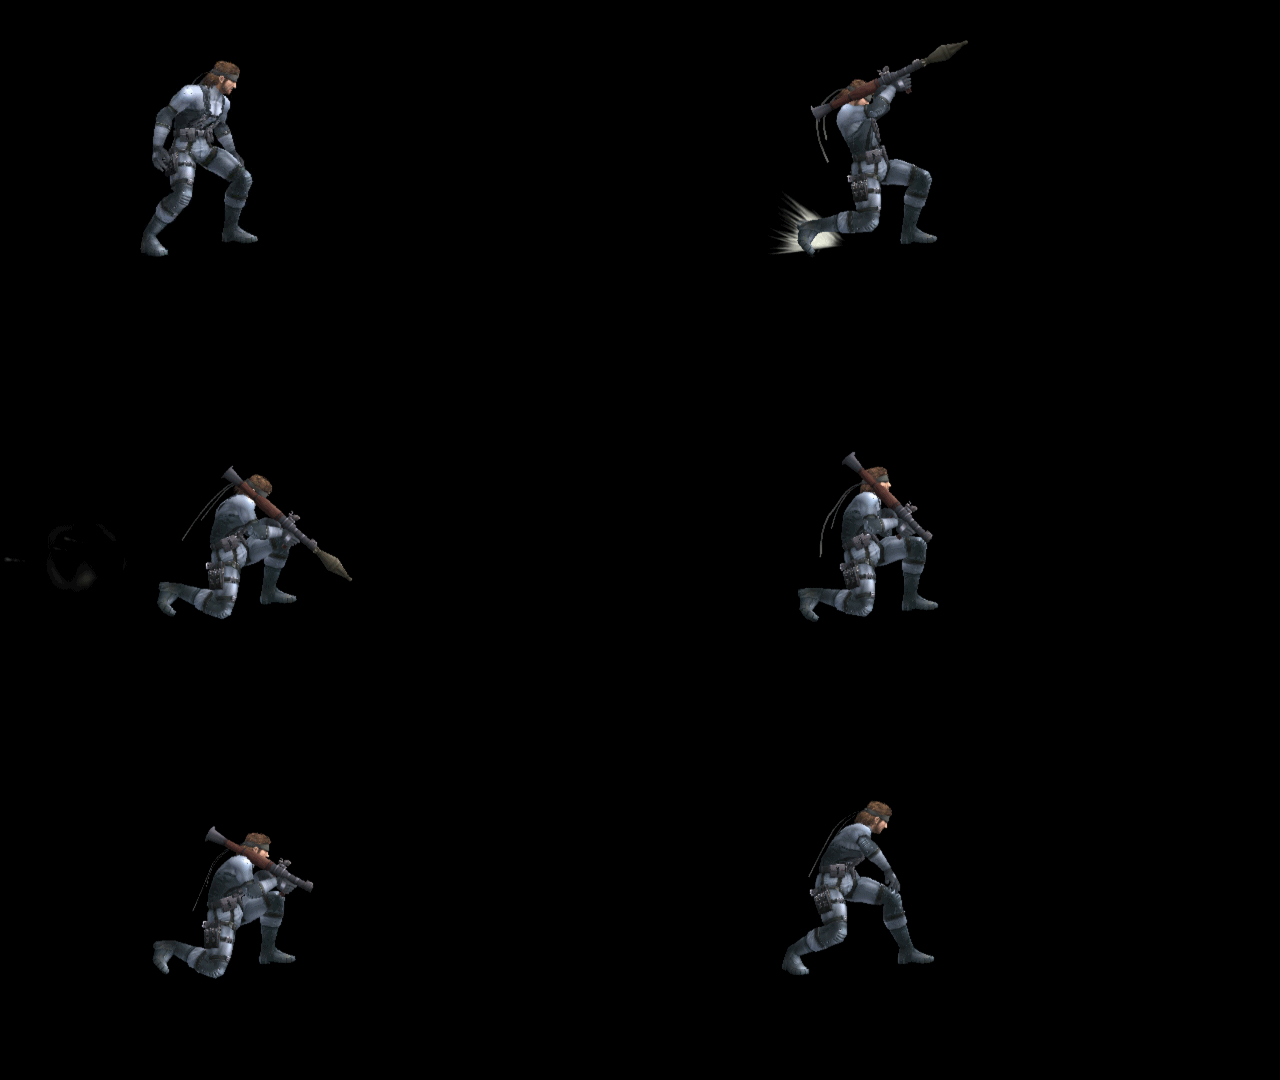
Snake aims and fires an RPG-7 rocket launcher into the ground in front of himself, causing an explosion. The move sports disjointed range and is the second-slowest forward smash in the game, taking 81 frames to complete. However, it is one of the most powerful smash attacks in Brawl, dealing massive damage and knockback; fully charged, it deals 30.8% damage and is capable of OHKOing every character except Bowser if used at one of the edges of Final Destination, provided the opponent does not DI.

Because using the move is impractical in most situations and Snake is likely to be attacked or punished for attempting to use it, his forward smash is best suited as a punishing option or used after a hard read.

Hitboxes

Effect Damage Angle Base knockback Knockback scaling
Flame 22% 361° 64 3C

Timing

Hits on: 41-42
Animation length 81
FrameIcon(Lag).png FrameIcon(Lag).png FrameIcon(Lag).png FrameIcon(Lag).png FrameIcon(Lag).png FrameIcon(Lag).png FrameIcon(Lag).png FrameIcon(Lag).png FrameIcon(Lag).png FrameIcon(Lag).png FrameIcon(Lag).png FrameIcon(Lag).png FrameIcon(Lag).png FrameIcon(Lag).png FrameIcon(Lag).png FrameIcon(Lag).png FrameIcon(Lag).png FrameIcon(Lag).png FrameIcon(Lag).png FrameIcon(Lag).png FrameIcon(Lag).png FrameIcon(Lag).png FrameIcon(Lag).png FrameIcon(Lag).png FrameIcon(Lag).png FrameIcon(Lag).png FrameIcon(Lag).png FrameIcon(Lag).png FrameIcon(Lag).png FrameIcon(Lag).png FrameIcon(Lag).png FrameIcon(Lag).png FrameIcon(Lag).png FrameIcon(Lag).png FrameIcon(Lag).png FrameIcon(Lag).png FrameIcon(Lag).png FrameIcon(Lag).png FrameIcon(Lag).png FrameIcon(Lag).png FrameIcon(Hitbox).png FrameIcon(Hitbox).png FrameIcon(Lag).png FrameIcon(Lag).png FrameIcon(Lag).png FrameIcon(Lag).png FrameIcon(Lag).png FrameIcon(Lag).png FrameIcon(Lag).png FrameIcon(Lag).png FrameIcon(Lag).png FrameIcon(Lag).png FrameIcon(Lag).png FrameIcon(Lag).png FrameIcon(Lag).png FrameIcon(Lag).png FrameIcon(Lag).png FrameIcon(Lag).png FrameIcon(Lag).png FrameIcon(Lag).png FrameIcon(Lag).png FrameIcon(Lag).png FrameIcon(Lag).png FrameIcon(Lag).png FrameIcon(Lag).png FrameIcon(Lag).png FrameIcon(Lag).png FrameIcon(Lag).png FrameIcon(Lag).png FrameIcon(Lag).png FrameIcon(Lag).png FrameIcon(Lag).png FrameIcon(Lag).png FrameIcon(Lag).png FrameIcon(Lag).png FrameIcon(Lag).png FrameIcon(Lag).png FrameIcon(Lag).png FrameIcon(Lag).png FrameIcon(Lag).png FrameIcon(Lag).png
Legend (1 square = 1 frame)
FrameIcon(Lag).png
Lag time
FrameIcon(Hitbox).png
Hitbox