SSBU Icon.png

Ridley (SSBU)/Forward tilt

From SmashWiki, the Super Smash Bros. wiki
Jump to navigationJump to search
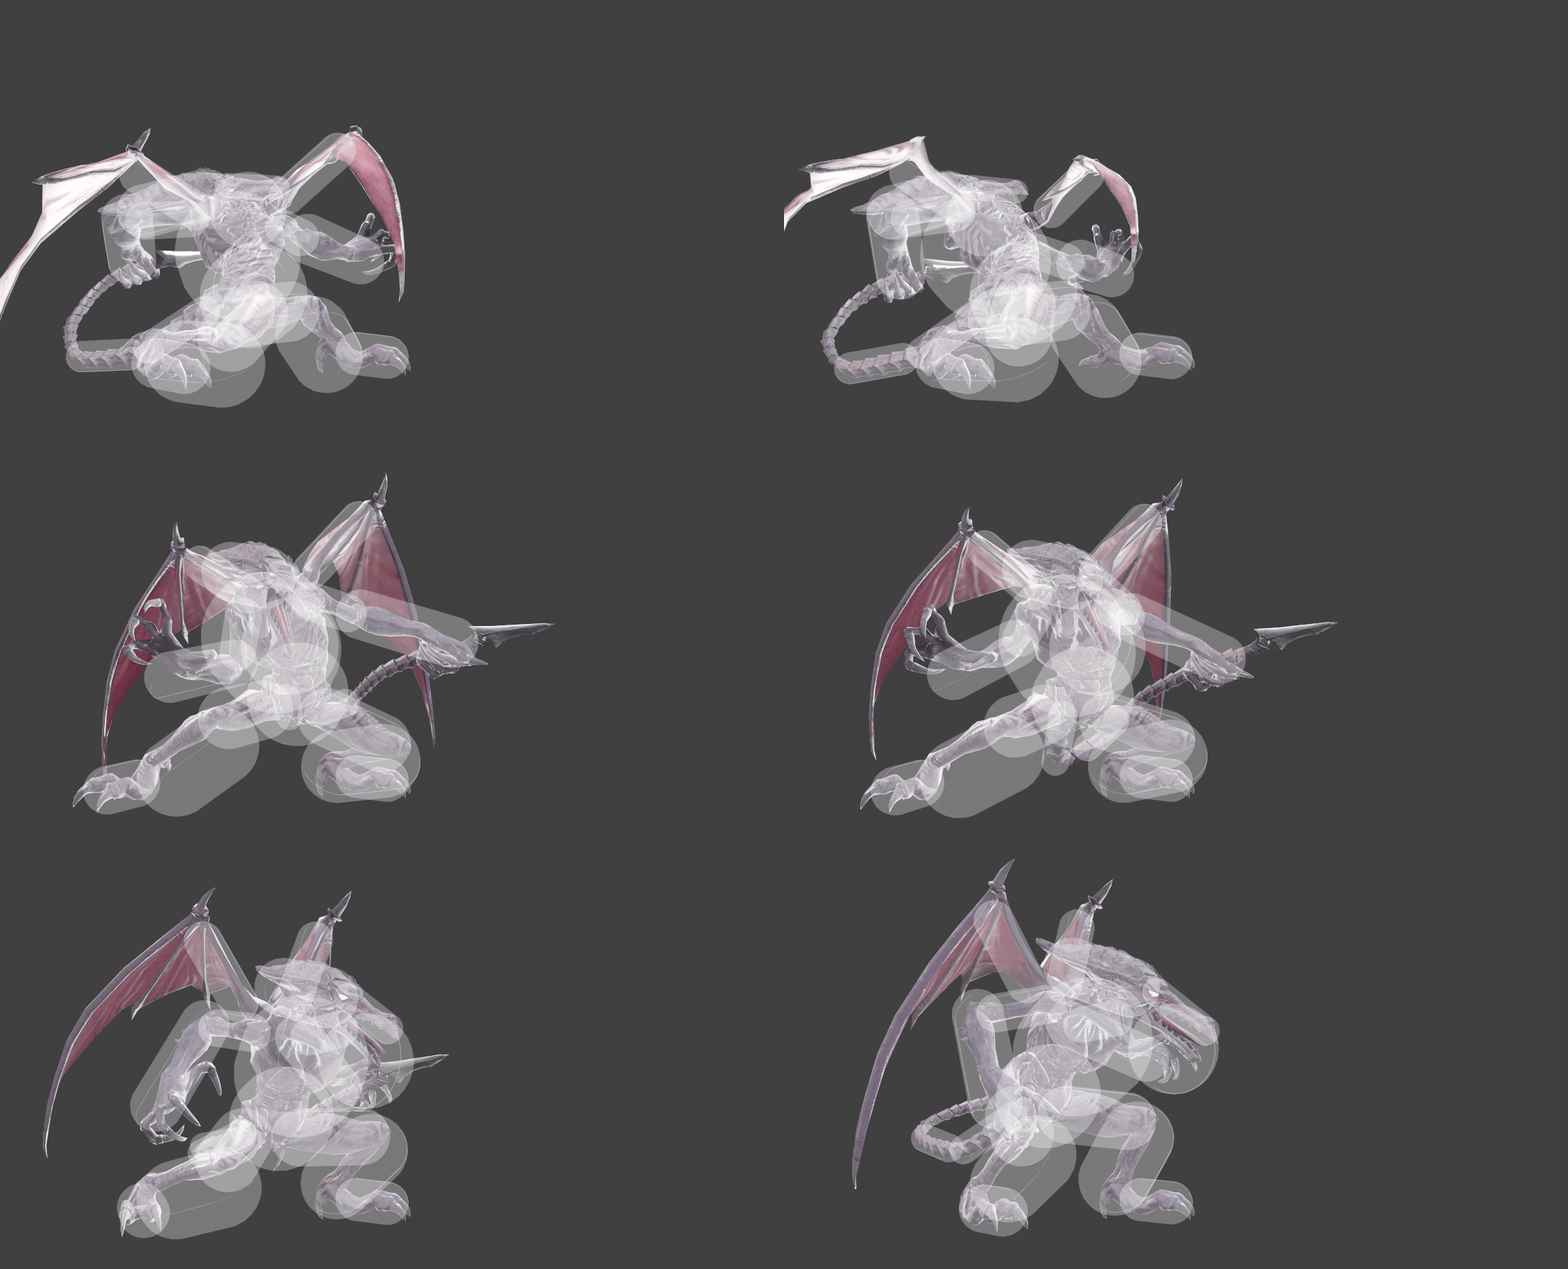
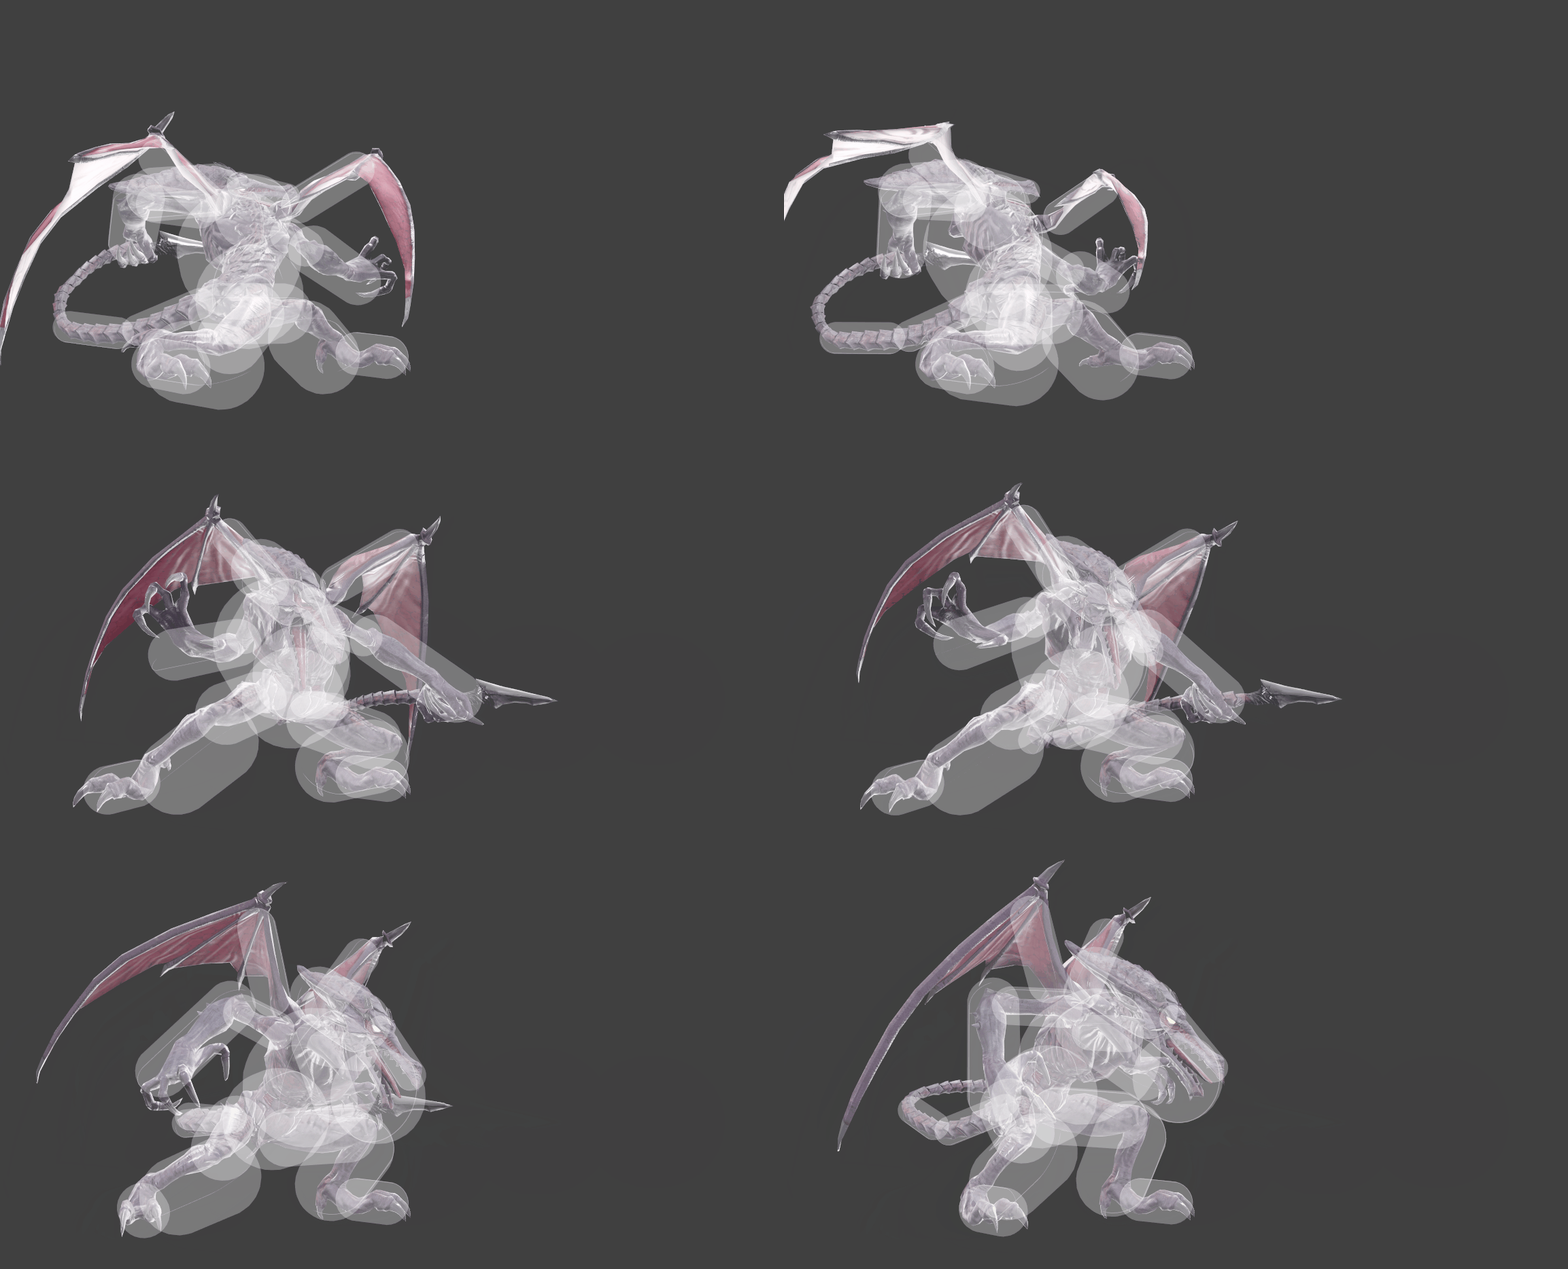
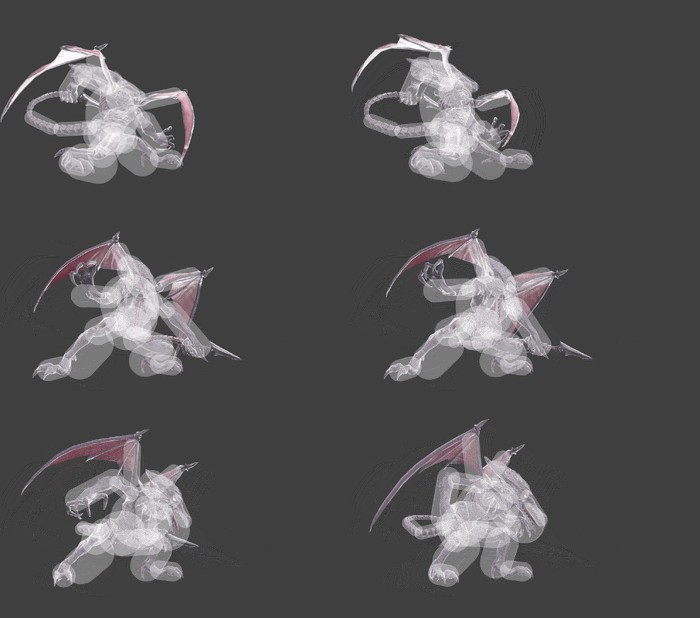
Ridley forward tilt hitbox visualizations.
RidleyFTiltUp.gif
RidleyFTilt.gif
RidleyFTiltDown.gif

Overview[edit]

Ridley uses his tail to stab in front of him, as if it were a lance. This move is very important for Ridley's spacing game, as the tip of the tail is a disjoint. It can also be angled. Thanks to the low FAF, this move can be seen as a low commitment to make. This move is often seen being used in neutral for these qualities, as well as the tipper's shield safety (-10 Tipper, -12 Early).

Forward tilt's main asset is the downward angle, as it can 2-frame and hit opponent's ledgehangs. This is a large asset in edgeguarding and ledgetrapping opponents. This is also useful for poking through shields. The upward angle can be used against jump-ins to get the opponent to back off as well, giving the move a great deal of versatility. Forward tilt can also be used to get tech chase situations, which Ridley can exploit well with locks, neutral aerial and more.

The move has very few flaws, but they do exist. Despite its remarkable range, it is prone to leaving Ridley vulnerable to trades with opposing attacks, due to him grabbing his tail and effectively extending his hurtboxes when he thrusts it forward. Because of this, forward tilt tends to lose to attacks from above and upper-diagonal jump-ins, even when angled up. The sourspot also tends to be a problem, as it takes priority over the stronger sweetspot and is easily punishable if shielded, necessitating good spacing in order to make good use of the move. It is also whiff punishable like any other move, so due diligence is needed.

Hitboxes[edit]

ID Part Rehit rate Damage SD Angle Angle type BK KS FKV Set weight Radius Bone Offset SDI× T% Clang Rebound Effect Type G A Sound Direct Hit bits Hit part Blockable Reflectable Absorbable Flinchless No GFX Heedless
0 0 0 10.0% 0 Sakurai angle Forward 50 71 0 HitboxTableIcon(False).png 5.5 tail7 3.0 0.0 0.0 1.0× 1.0× 0% HitboxTableIcon(Clang).png HitboxTableIcon(Rebound).png EffectIcon(Normal).png TypeIcon(Tail).png HitboxTableIcon(GroundedTrue).png HitboxTableIcon(AerialTrue).png M Kick SpecialsDirect.png All All HitboxTableIcon(Blockable).png HitboxTableIcon(Unreflectable).png HitboxTableIcon(Unabsorbable).png HitboxTableIcon(False).png HitboxTableIcon(False).png HitboxTableIcon(False).png
1 0 0 10.0% 0 Sakurai angle Forward 50 71 0 HitboxTableIcon(False).png 7.5 top 0.0 7.0 7.3 1.0× 1.0× 0% HitboxTableIcon(Clang).png HitboxTableIcon(Rebound).png EffectIcon(Normal).png TypeIcon(Tail).png HitboxTableIcon(GroundedTrue).png HitboxTableIcon(AerialTrue).png M Kick SpecialsDirect.png All All HitboxTableIcon(Blockable).png HitboxTableIcon(Unreflectable).png HitboxTableIcon(Unabsorbable).png HitboxTableIcon(False).png HitboxTableIcon(False).png HitboxTableIcon(False).png
2 0 0 13.0% 0 Sakurai angle Forward 55 71 0 HitboxTableIcon(False).png 5.0 tail8 6.8 0.0 0.0 1.3× 1.0× 0% HitboxTableIcon(Clang).png HitboxTableIcon(Rebound).png EffectIcon(Stab).png TypeIcon(Tail).png HitboxTableIcon(GroundedTrue).png HitboxTableIcon(AerialTrue).png L Slash SpecialsDirect.png All All HitboxTableIcon(Blockable).png HitboxTableIcon(Unreflectable).png HitboxTableIcon(Unabsorbable).png HitboxTableIcon(False).png HitboxTableIcon(False).png HitboxTableIcon(False).png

Timing[edit]

Hitboxes 10-11
Interruptible 33
Animation length 42
FrameIcon(Lag).png FrameIcon(Lag).png FrameIcon(Lag).png FrameIcon(Lag).png FrameIcon(Lag).png FrameIcon(Lag).png FrameIcon(Lag).png FrameIcon(Lag).png FrameIcon(Lag).png FrameIcon(Hitbox).png FrameIcon(Hitbox).png FrameIcon(Lag).png FrameIcon(Lag).png FrameIcon(Lag).png FrameIcon(Lag).png FrameIcon(Lag).png FrameIcon(Lag).png FrameIcon(Lag).png FrameIcon(Lag).png FrameIcon(Lag).png FrameIcon(Lag).png FrameIcon(Lag).png FrameIcon(Lag).png FrameIcon(Lag).png FrameIcon(Lag).png FrameIcon(Lag).png FrameIcon(Lag).png FrameIcon(Lag).png FrameIcon(Lag).png FrameIcon(Lag).png FrameIcon(Lag).png FrameIcon(Lag).png FrameIcon(Interruptible).png FrameIcon(Interruptible).png FrameIcon(Interruptible).png FrameIcon(Interruptible).png FrameIcon(Interruptible).png FrameIcon(Interruptible).png FrameIcon(Interruptible).png FrameIcon(Interruptible).png FrameIcon(Interruptible).png FrameIcon(Interruptible).png
Legend (1 square = 1 frame)
FrameIcon(Lag).png
Lag time
FrameIcon(Hitbox).png
Hitbox
FrameIcon(Interruptible).png
Interruptible