King K. Rool (SSBU)/Pummel
Overview
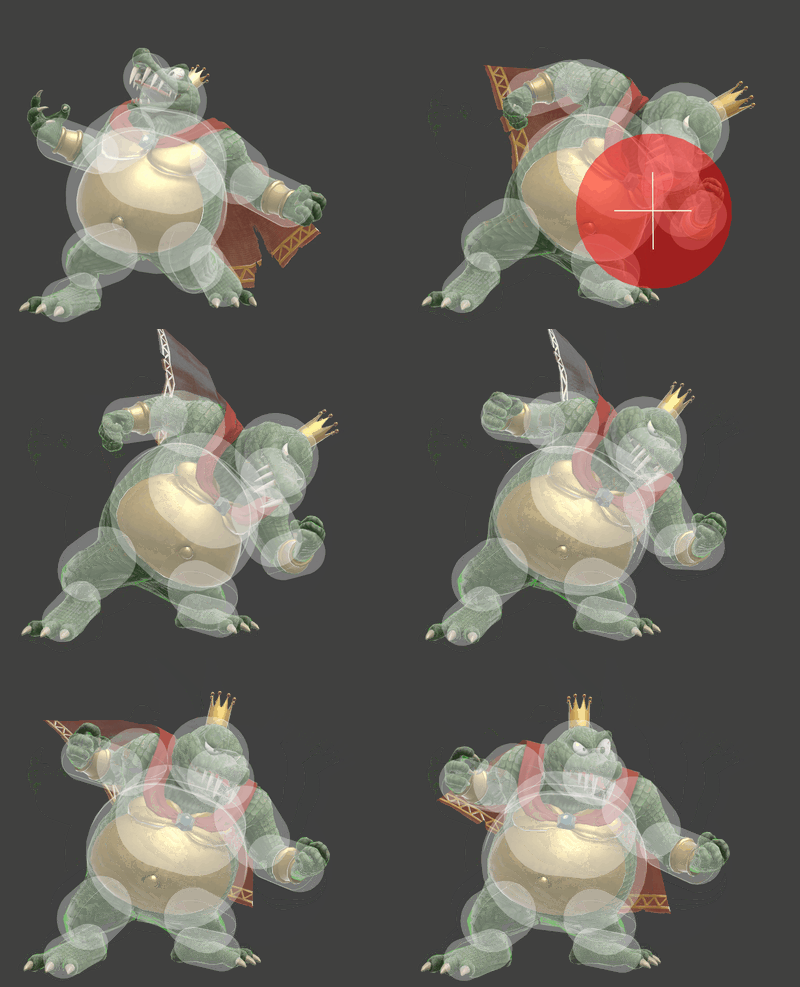
A simple headbutt. Pummeling opponents prior to using down throw is especially crucial for King K. Rool's success, as well as after a dash grab to make use of the long lunge while still dealing damage. King K. Rool's pummel is also one of the most damaging of its kind, with surprisingly little lag for its damage as well. This allows for an easy down throw into up smash, as it prompts mashing from opponents aiming to avoid taking unnecessary damage. It also allows the K. Rool player to add more bury time, as down throw uses the damage directly before the throw occurs, including pummel damage.
This also removes moves from the stale-move negation queue, allowing for K. Rool's damage to remain high, as his damage is very heavily affected by the staleness multipliers. Considering hitlag, a buffered throw from a buffered pummel is guaranteed from around 10%, allowing for automatic, free damage. Thus, buffering pummel into down throw and then using neutral attack will almost completely refresh the queue.
To compensate for the sheer damage it can rack up, King K. Rool's pummel is only frame 2. This is something only shared by a few characters, such as Donkey Kong and Jigglypuff. This means it's possible for characters to escape grabs before the pummel comes out, though this is rare.
Update History
 Pummel's hitbox radius was increased (r7.0 → r8.0), allowing it to connect on opponents reliably without glancing blows occurring.
Hitboxes
Timing
| Hitbox | 2 |
|---|---|
| Interruptible | 8 |
| Animation length | 23 |
Lag time |
Hitbox |
Interruptible |
|
