OverviewEdit
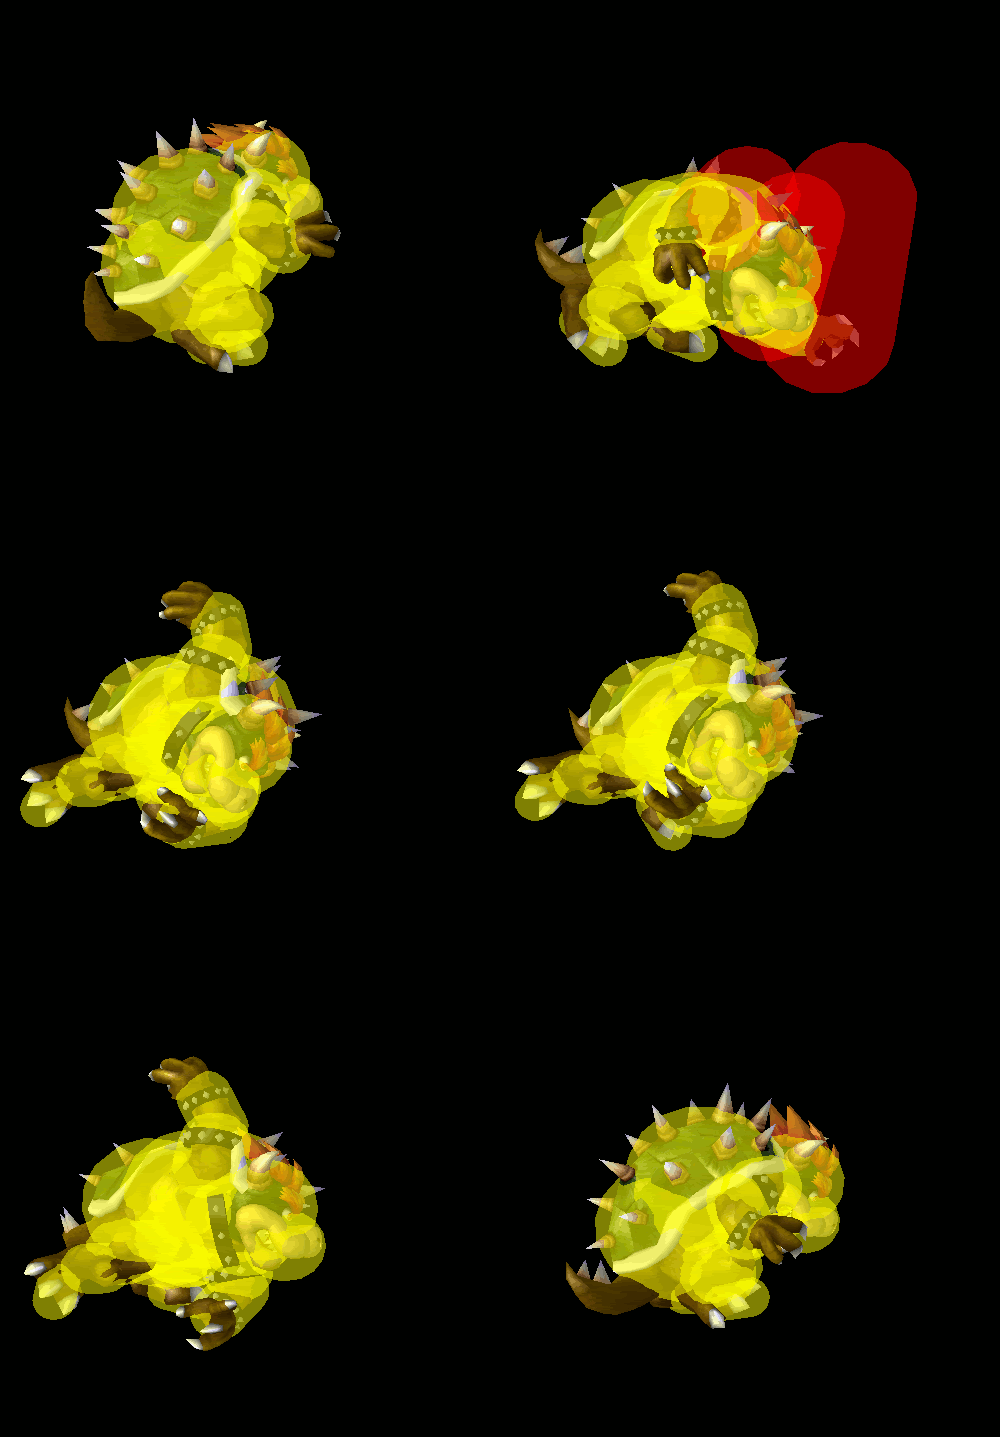
Bowser performs a downward claw swipe. Being one of Bowser's faster aerials at frame 8 — and quite a long-ranged, high-damaging one at that — it serves numerous roles in his kit. This is mostly in respect to spacing: it forms most of Bowser's approach game in neutral, but also prevents Bowser from being approached himself while active. It applies in force in respect to anti-air utility, as it's slightly disjointed and hits quite high early on while sending at a low-ish angle. On hit, it usually sends the foe to the ledge, in part thanks to its Sakurai angle backed by high damage; this also makes it a strong edgeguarding tool because the range, angle, and damage give it massive kill power; it also trades well with Fox and Falco's up specials. Finally, against mediocre attacks on-shield, it can be used out of shield despite Bowser's jumpsquat. Overall, in many situations, this is the move Bowser uses most-often.
Forward aerial has middling base knockback, but high damage, which comes together to mean it doesn't send into tumble at lower percentages. This makes it a strong grab confirm at this point if L-cancelled successfully, as Bowser will usually land very close to the opponent. When it does send into tumble, it allows for numerous tech chase opportunities, be it a grab, second forward aerial, or even Koopa Klaw. Forward aerial is confirm-able through Koopa Klaw's forward throw itself, up throw, and the landing hitbox of up smash.
However, forward aerial isn't stellar for a few reasons, mostly in respect to Bowser's terrible jumpsquat. Having 8 frames, this adds inherent lag to most conventional uses, making it frame 16 out of jumpsquat, and this doesn't count the annoying landing lag. Bowser is frequently seen being punished before even jumping, which makes forward aerial difficult to justify under pressure. Ergo, while a strong move on its own, Bowser's properties as a character severely hamper what he can achieve with the attack, despite how much it's used in his metagame.
HitboxesEdit
TimingEdit
| Initial autocancel | 1-7 |
|---|---|
| Hitbox | 8-11 |
| Ending autocancel | 31- |
| Interruptible | 42 |
| Animation length | 45 |
Landing lagEdit
| Animation length | 30 |
|---|---|
| L-cancelled animation length | 15 |
| Normal | ||||||||||||||||||||||||||||||
| L-cancelled |
| Lag time |
Hitbox |
Autocancel |
Interruptible |
|
