Bowser (SSB4)/Side special/Default
From SmashWiki, the Super Smash Bros. wiki
Jump to navigationJump to search
Overview
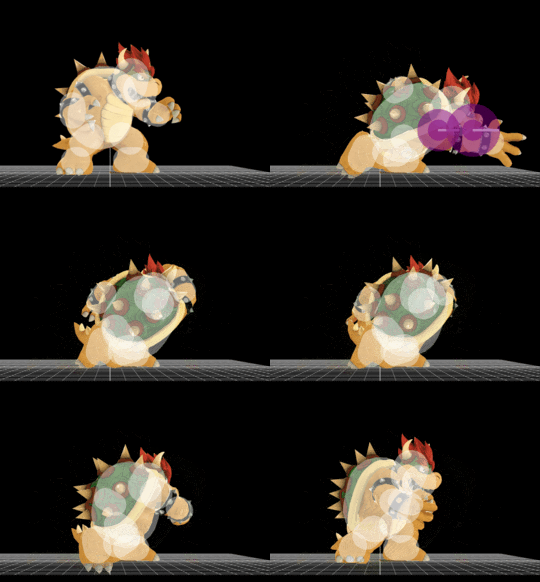
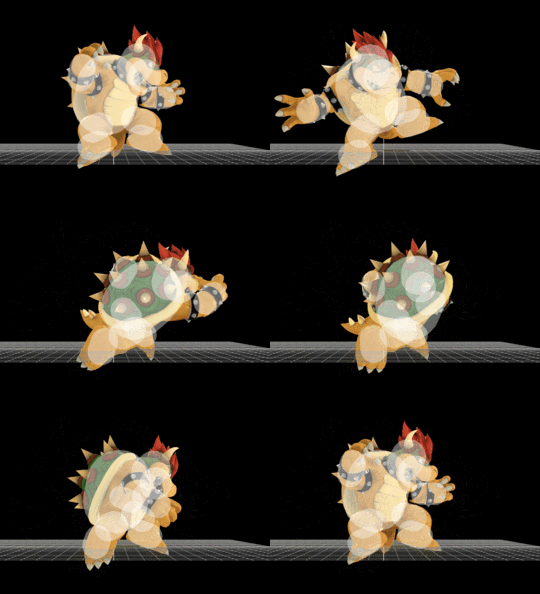
Bowser swings his arm in front of him to grab an opponent. The move is one of Bowser's best neutral options due to it's property of being able to auto-cancel upon landing. This allows Bowser to have tricky movement and to end the lag of his bulky aerials, which alleviate Bowser's weaknesses in having to land and the long end lag of his moves. Besides it's utility in the neutral, the move boasts as a powerful kill option and kill opponents at medium-high percents with rage when used on the top platform of common stages such as Battlefield and Smashville.
Update history
 Sacrificial KOs using Flying Slam now KO Bowser first instead of the opponent. When Bowser is KO'd, the opponent is released from the grab, potentially allowing them to recover back onto the stage.
 Bowser has more control over Flying Slam's trajectory.
 Flying Slam's grab to slam transition speed increased. This makes it function similarly to how it did in Brawl.
 All variations of Flying Slam now have invincibility frames before Bowser leaves the ground.
 All variations of Flying Slam's grab range increased.
 Ground Hand Hitbox Size: 4/3 → 5/4.
 Large Hitbox X Position: 17 → 17.5.
 Ground to Air Hand Hitbox: 1/1 → 2/2.
 Outer Hitbox X Position: 17 → 17.5.
 Air Hand Hitbox: 5/3.5 → 6/4.5.
 Large Hitbox X Position: 15 → 15.5.
Hitboxes
Throw
| Hitbox type | Damage | Angle | Base knockback | Knockback scaling | Fixed knockback value | Weight dependent |
|---|---|---|---|---|---|---|
| Throw | 18% | 60 | 80 | 60 | 0 | No |
Collateral
| ID | Part | Damage | SD | Angle | BK | KS | FKV | Radius | Bone | Offset | SDIx | H× | T% | Clang | Rebound | Type | Effect | G | A | Sound | Direct | Stretch | ||||
|---|---|---|---|---|---|---|---|---|---|---|---|---|---|---|---|---|---|---|---|---|---|---|---|---|---|---|
| 0 | 0 | 15% | 1 | 80 | 80 | 0 | 8.0 | 0 | 0.0 | 2.0 | 6.5 | 1x | 1x | 0% | 0.0 | 2.0 | -4.5 | |||||||||
|


