User:Yo'ster/Smash Throw: Difference between revisions
m (→Up: Kill percent) |
(→Up: Kill percent) |
||
| Line 18: | Line 18: | ||
[[File:BFSmashThrow.gif|thumb|Performing a Backward-Throw-Forward-Smash confirm in SSBU]] | [[File:BFSmashThrow.gif|thumb|Performing a Backward-Throw-Forward-Smash confirm in SSBU]] | ||
====Up==== | ====Up==== | ||
The Up-Throw-Up-Smash confirm, also known as "Yooyoo" KOs at about 100% when performed optimally. | The Up-Throw-Up-Smash confirm, also known as "Yooyoo" KOs at about 115% in its weakest state, and 100% when performed optimally. Strangely, the up smash's knockback will be outprioritized by that of the up throw if the smash attack is buffered. Making the throw deal much more damage than it's supposed to, but without the knockback needed to KO at realistic percents. The 2nd Climber must charge their up smash for at least 3 frmaes to avoid being deprioritized. (It doesn't need to enter the charge interval. The player just has to be holding the R stick during the 1st 3 frames of the smash's startup) | ||
[[File:UUSmashThrow.gif|thumb|Performing a Up-Throw-Up-Smash confirm in SSBU]] | [[File:UUSmashThrow.gif|thumb|Performing a Up-Throw-Up-Smash confirm in SSBU]] | ||
Revision as of 11:29, May 13, 2024
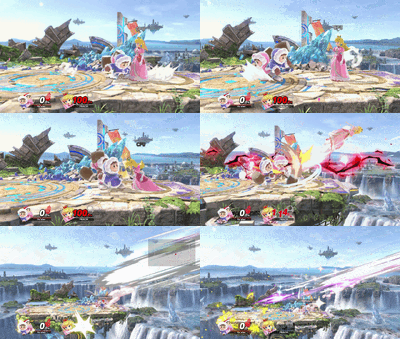
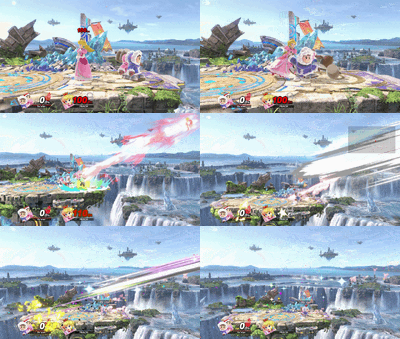
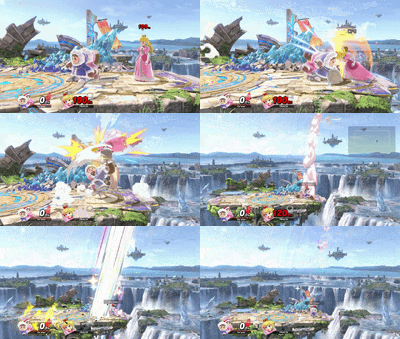
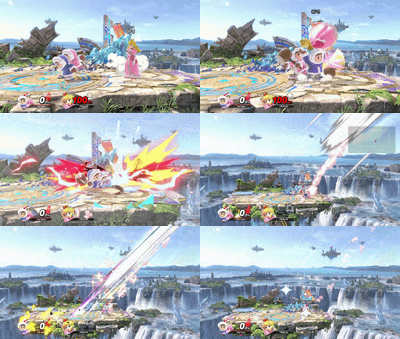
Smash Throw refers to a desynced kill confirm combining a throw with a buffered smash attack from the partner, keeping the opponent in place to turn their otherwise weak throws into some of the strongest in the game. The damage and launch power of Smash Throws vary depending on the player's timing, as landing the smash attack will usually interrupt the actual throw, preventing some of the throw's damage from being dealt, while delaying the smash can not only let the throw connect and damage the opponent in its entirety, but also further strengthen the combo due to charging the smash a little in the meantime.
In SSBM
In SSBB
In SSBU
Primary Variants
Forward
The Forward-Throw-Forward-Smash confirm, also known as "Effeff" KOs at about 75% at its weakest, and 57% when performed optimally.
Back
The Back-Throw-Forward-Smash confirm, also known as "Beyeff" KOs at about 72%, and cannot be optimized due to the point from which the opponent is thrown and the lack of hitlag. The smash must be buffered, and attempting to charge it for even a single frame will cause them to swing several frames too late.
Up
The Up-Throw-Up-Smash confirm, also known as "Yooyoo" KOs at about 115% in its weakest state, and 100% when performed optimally. Strangely, the up smash's knockback will be outprioritized by that of the up throw if the smash attack is buffered. Making the throw deal much more damage than it's supposed to, but without the knockback needed to KO at realistic percents. The 2nd Climber must charge their up smash for at least 3 frmaes to avoid being deprioritized. (It doesn't need to enter the charge interval. The player just has to be holding the R stick during the 1st 3 frames of the smash's startup)
Down
The Down-Throw-Down-Smash confirm, also known as "Deedee" KOs at about


