Sheik (SSBM)/Forward aerial: Difference between revisions
From SmashWiki, the Super Smash Bros. wiki
Jump to navigationJump to search
m (→Overview) |
m (→Overview) |
||
| Line 2: | Line 2: | ||
==Overview== | ==Overview== | ||
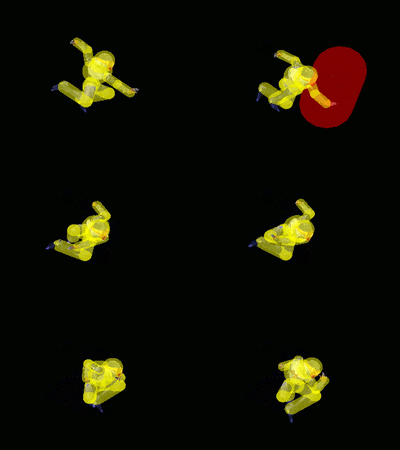
[[File:Sheik Forward Aerial Hitbox Melee.gif|thumb| | [[File:Sheik Forward Aerial Hitbox Melee.gif|thumb|Hitbox duration of Sheik's forward aerial.]] | ||
Sheik does a quick swipe in front of herself. It [[semi-spike]]s with very high knockback, being Sheik's second most powerful move being her sweetspotted {{mvsub|Sheik|SSBM|up smash}}, and is among Sheik's most useful finishers. It is especially deadly when used offstage, as it can easily [[gimp]] characters with poor recoveries, such as {{SSBM|Falco}} and {{SSBM|Dr. Mario}}. It is usually used as a combo finisher, and is commonly used after {{mvsub|Sheik|SSBM|forward tilt}}s on fastfallers or {{mvsub|Sheik|SSBM|down throw}}s on floaties as a KO setup. | Sheik does a quick swipe in front of herself. It [[semi-spike]]s with very high knockback, being Sheik's second most powerful move being her sweetspotted {{mvsub|Sheik|SSBM|up smash}}, and is among Sheik's most useful finishers. It is especially deadly when used offstage, as it can easily [[gimp]] characters with poor recoveries, such as {{SSBM|Falco}} and {{SSBM|Dr. Mario}}. It is usually used as a combo finisher, and is commonly used after {{mvsub|Sheik|SSBM|forward tilt}}s on fastfallers or {{mvsub|Sheik|SSBM|down throw}}s on floaties as a KO setup. | ||
Revision as of 12:07, August 20, 2014
Overview
Sheik does a quick swipe in front of herself. It semi-spikes with very high knockback, being Sheik's second most powerful move being her sweetspotted up smash, and is among Sheik's most useful finishers. It is especially deadly when used offstage, as it can easily gimp characters with poor recoveries, such as Falco and Dr. Mario. It is usually used as a combo finisher, and is commonly used after forward tilts on fastfallers or down throws on floaties as a KO setup.
Hitboxes
| ID | Part | Damage | SD | Angle | BK | KS | FKV | Radius | Bone | Offset | Clang | Rebound | Effect | G | A | Sound | ||
|---|---|---|---|---|---|---|---|---|---|---|---|---|---|---|---|---|---|---|
| 0 | 0 | 13% | 0 | 0 | 100 | 0 | 5.4684 | 22 | 2.327976 | 0.0 | 0.0 | |||||||
Timing
Attack
| Initial autocancel | 1-4 |
|---|---|
| Hitbox | 5-7 |
| Ending autocancel | 11- |
| Animation length | 33 |
| Interruptible | 40 |
Landing lag
| Animation length | 16 |
|---|---|
| L-cancelled animation length | 8 |
| Normal | ||||||||||||||||
| L-cancelled |
Lag time |
Hitbox |
Autocancel |
|

